
DIY Plumbing Repairs: 7 Fixes Homeowners Can Do
Explore seven common plumbing repairs homeowners can tackle DIY, from fixing a dripping faucet to replacing a toilet flapper, and save money.

By Cameron Howard
Learn more about Handyman for guides, costs, and what to expect.
Compare Handyman Pros Near You

Enter your ZIP code to compare top-rated local professionals and request free quotes.
That dripping faucet keeps you awake at night, and the running toilet sounds like a waterfall every time you walk past the bathroom. Before you grab the phone to call a plumber, consider this: many of the most common plumbing repairs homeowners can tackle DIY are simpler than you think. With a few basic tools, a little patience, and a willingness to learn, you can fix minor issues yourself and save hundreds of dollars. This guide walks you through seven practical repairs that are safe for most homeowners to attempt, and it clearly explains when it is time to call in a professional. For larger projects or when you simply prefer expert help, services like BuySellRemodel can connect you with trusted local pros who offer free estimates.
Why DIY Plumbing Repairs Are Worth Your Time
Plumbing emergencies are stressful, but not every issue requires a professional. Learning to handle basic repairs gives you more control over your home maintenance budget. A single service call can cost anywhere from $75 to $150 just for the visit, and that is before parts or labor. When you handle the repair yourself, you only pay for the part, which is often under $20. Over the course of a year, fixing a few small issues can add up to substantial savings.
Beyond the financial benefit, tackling DIY repairs builds your confidence as a homeowner. You will understand how your plumbing system works, which helps you spot bigger problems before they become disasters. Many common plumbing repairs homeowners can tackle DIY require only a few tools: an adjustable wrench, a screwdriver, pliers, plumber's tape, and a bucket. Most hardware stores carry everything you need, and online tutorials can walk you through each step. However, it is critical to know your limits. If a repair involves gas lines, major pipe replacement, or work inside walls, that is the time to call a licensed plumber.
Essential Tools and Safety First
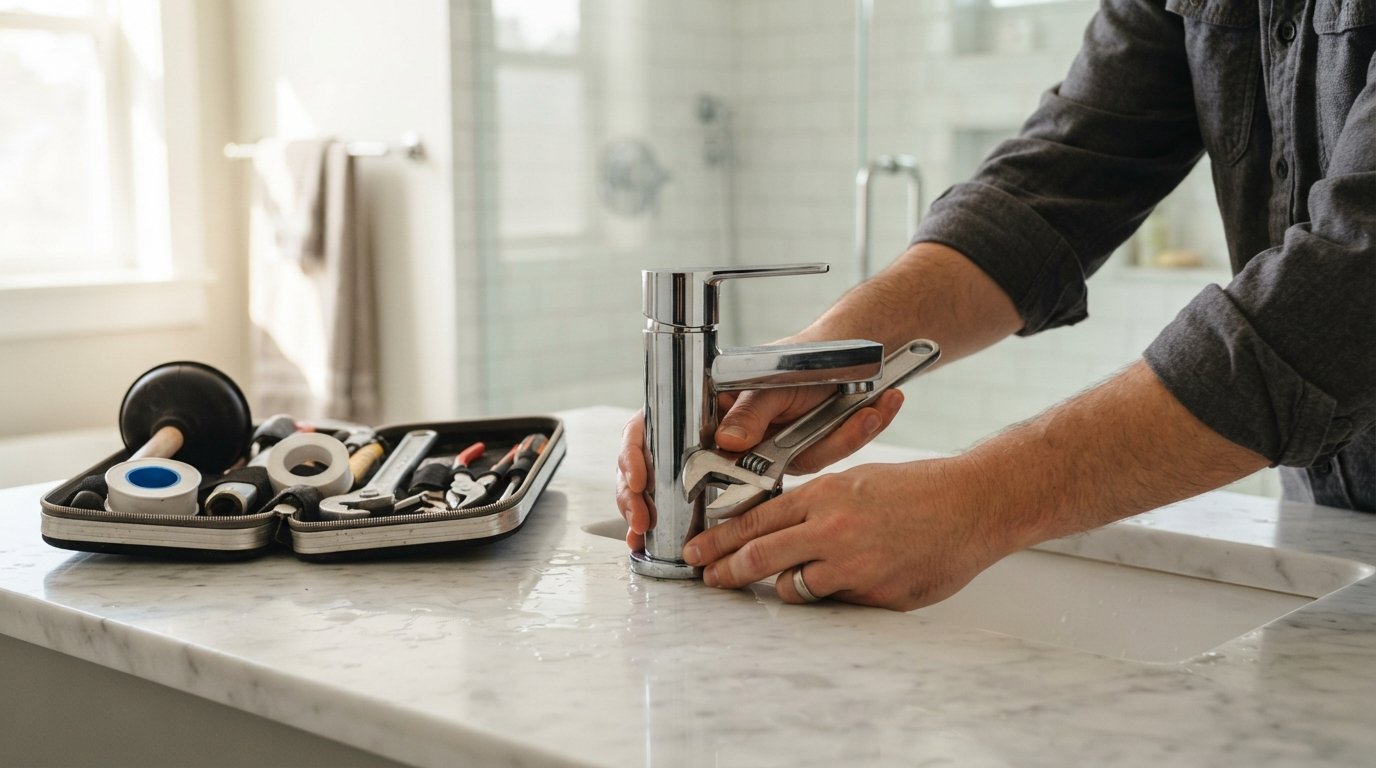
Before you start any project, gather the right tools. Using the wrong tool can damage fittings or cause injury. Here is a basic kit for DIY plumbing repairs:
- Adjustable wrench or basin wrench for nuts and bolts
- Pipe wrench for gripping metal pipes
- Plumber's tape (also called Teflon tape) for sealing threads
- Plunger and a drain snake or auger
- Bucket, rags, and a flashlight
Always turn off the water supply to the fixture you are working on. Most sinks and toilets have a shut-off valve located nearby. If you cannot find one, turn off the main water valve for your house. Open the faucet to release any remaining water pressure before you disassemble anything. Also, remember that hot water can cause burns, so let the system cool down if you have been running hot water recently. Work slowly and keep small parts organized in a bowl or tray. Taking these precautions makes any repair safer and less stressful.
Repair 1: Fixing a Dripping Faucet
A dripping faucet is the most common plumbing annoyance, and it is often caused by a worn-out washer or O-ring. The constant drip not only wastes water but can also stain your sink and increase your water bill. The good news is that fixing it is a straightforward DIY project for most homeowners.
Start by turning off the water supply under the sink. Then, plug the drain to avoid losing small parts. Use a screwdriver to remove the handle, then unscrew the packing nut to access the valve stem. You will likely see a rubber washer or a cartridge. Remove the old part and take it to a hardware store to find an exact match. Reassemble everything with new parts, using plumber's tape on the threads if needed. Turn the water back on and test the faucet. If the drip persists, the problem may be a worn valve seat, which can be cleaned or replaced. This repair typically takes less than an hour and costs under $10 for parts.
Repair 2: Stopping a Running Toilet
If your toilet runs constantly, you are wasting up to 200 gallons of water a day. This issue is usually caused by a faulty flapper, a fill valve problem, or a chain that is too tight or too loose. Replacing a flapper is one of the easiest plumbing repairs you can do. The flapper is the rubber part at the bottom of the tank that lifts to let water into the bowl and then seals to stop the flow.
First, remove the tank lid and flush the toilet to empty the tank. Inspect the flapper for cracks or mineral buildup. If it looks worn, simply unhook it from the overflow tube and attach a new one. Make sure the chain has a little slack so the flapper can close fully. If the toilet still runs, the fill valve may need adjustment or replacement. Many fill valves have a dial that lets you adjust the water level. If replacement is necessary, this is still a DIY-friendly job that takes about 30 minutes. Always shut off the water valve behind the toilet before starting.
Repair 3: Clearing a Clogged Drain
Slow or clogged drains are a fact of life in every home, but you rarely need a plumber for this common issue. Hair, soap scum, and food particles are the usual culprits. Your first weapon is a plunger. Fill the sink or tub with enough water to cover the plunger cup, then plunge vigorously for 15 to 20 seconds. If that does not work, try a drain snake or a bent wire hanger to pull out the clog. Avoid using chemical drain cleaners, as they can damage your pipes over time and are harmful to the environment.
For kitchen sinks, the clog is often in the P-trap, the curved pipe under the sink. Place a bucket beneath the trap, then unscrew the slip nuts on both ends and remove the trap. Clean it out thoroughly and replace it. This is a simple task that can clear even tough clogs. If the drain is still slow after these steps, the clog may be deeper in the main line, and that is a good reason to call a professional. Regular maintenance, like pouring boiling water down the drain weekly, can prevent future clogs.
Repair 4: Replacing a Showerhead
Upgrading to a new showerhead is a quick and rewarding DIY project. Old showerheads can become clogged with mineral deposits, reducing water pressure and wasting water. Replacing one takes less than 15 minutes and requires only an adjustable wrench and plumber's tape. First, turn off the water supply to the shower, either at the valve or the main shut-off. Wrap the old showerhead with a rag to protect its finish, then use the wrench to loosen and remove it. Clean the threads on the shower arm, wrap them clockwise with plumber's tape, and screw on the new showerhead. Hand-tighten first, then use the wrench for a snug fit, but do not overtighten. Turn the water back on and check for leaks.
This repair is a great way to improve your shower experience and increase your home's water efficiency. Modern low-flow showerheads can save a family of four thousands of gallons a year without sacrificing pressure. If you are not comfortable working with the shower arm, or if you notice corrosion on the pipe, consider having a professional plumber inspect it during your next maintenance check.
Repair 5: Sealing Leaky Pipe Joints
Small leaks at pipe joints are common, especially where different materials meet. You can often stop a drip by tightening the joint with a wrench, but be careful not to overtighten and crack the fitting. If tightening does not work, you may need to unscrew the joint, clean the threads, apply fresh plumber's tape, and reassemble. This method works well for threaded connections on supply lines and drain pipes.
For pinhole leaks in pipes, a pipe repair clamp is a temporary fix that can hold until you replace the section. This clamp wraps around the pipe and compresses a rubber gasket over the hole. It is not a permanent solution, but it can buy you time. If you see water stains on ceilings or walls, or if the leak is inside a wall, do not attempt a DIY repair. Hidden leaks can cause structural damage and mold, so call a licensed plumber immediately. Remember, knowing when to call for help is part of being a responsible homeowner.
Repair 6: Replacing a Toilet Flapper
We mentioned the flapper in the running toilet section, but it deserves its own detailed look because it is such a common repair. Over time, the rubber flapper can degrade from chlorine in the water or simply from age. A worn flapper allows water to seep from the tank into the bowl, causing the fill valve to run frequently. This is not just a noise issue; it also wastes water and increases your utility bill.
To replace the flapper, turn off the water supply and flush the toilet to drain the tank. Remove the old flapper by unhooking it from the flush valve and disconnecting the chain from the flush handle. Take the old flapper to a hardware store to find the correct size and shape. Install the new flapper by attaching it to the flush valve and connecting the chain, leaving a little slack. Turn the water back on and let the tank refill. Flush a few times to check for proper operation. This repair costs between $5 and $15 and takes less than 15 minutes, making it one of the highest-value plumbing fixes you can do.
Repair 7: Silencing Noisy Pipes
Banging or rattling pipes can be alarming, but the fix is often simple. The noise usually comes from water hammer, which happens when a valve closes quickly and the water's momentum causes the pipe to shake. Loose pipe straps are also a common cause. To fix this, first, secure any loose pipes with new pipe straps. You can find these at any hardware store, and they simply screw into the wall or floor joist.
If the noise persists, you may need to install a water hammer arrestor. This device absorbs the shock and is installed near the problem valve. Some arrestors are designed for DIY installation, but this can be more involved. If you are unsure, it is wise to consult a professional. While not as urgent as a leak, noisy pipes can indicate excessive pressure in your system, which can lead to premature wear on appliances and fittings. Keeping an eye on your water pressure with a gauge is a good preventive practice.
When to Hire a Professional Plumber
Even the most capable DIYer must recognize the limits of their skills. Some plumbing issues require a licensed professional, and attempting them can lead to costly damage or safety hazards. You should definitely call a plumber for the following situations:
- Leaks behind walls, under concrete slabs, or in ceilings
- Low water pressure throughout the house, which may indicate a hidden leak or pipe corrosion
- Sewer line backups, which often require specialized equipment to clear
- Water heater problems, especially gas leaks or electrical issues
- Any work involving the main water line or gas piping
When you decide to hire a pro, you do not have to choose blindly. Platforms like BuySellRemodel connect you with experienced, local contractors who offer free estimates. This lets you compare prices and read reviews before you commit. You can also request quotes for larger plumbing upgrades, such as repiping or installing a tankless water heater. Getting multiple quotes helps you make an informed decision and can save you a significant amount of money.
Preventive Maintenance: Keeping Your Plumbing Healthy
The best repair is the one you never have to make. A little preventive maintenance goes a long way in avoiding plumbing emergencies. Once a month, pour a pot of boiling water down each drain to help dissolve grease and soap buildup. Use a hair strainer in all showers and tubs to catch hair before it clogs the drain. Inspect exposed pipes under sinks for signs of moisture or corrosion, and check the water heater's temperature and pressure relief valve annually.
Also, learn where your main water shut-off valve is located and tag it clearly. In an emergency, you can stop the water flow immediately, preventing major damage. By staying proactive, you can extend the life of your plumbing system and minimize the need for professional repairs. And when you do need help, remember that you have resources to find qualified help quickly.
Cost Savings and the Value of Free Quotes
DIY repairs can save you a bundle, but professional help is sometimes the smartest investment. The key is to know when to do it yourself and when to call a pro. For the seven repairs we covered, you might save anywhere from $50 to $500 per job by going the DIY route. That is money you can put toward other home improvements. However, a botched DIY job can cost you more than the repair itself, especially if water damage occurs.
If you decide to hire a contractor, always request free quotes from multiple pros. This is a standard practice in the industry, and it allows you to compare pricing and services without pressure. Websites like BuySellRemodel make this process simple by matching you with pre-screened local contractors. You can describe your project, receive custom estimates, and choose the professional that fits your budget and timeline. Whether you fix a dripping faucet yourself or hire a plumber for a new installation, being informed is your best tool.
Plumbing does not have to be intimidating. By mastering a few common plumbing repairs homeowners can tackle DIY, you save money, gain confidence, and keep your home in great shape. Start with the simplest task, like replacing a toilet flapper, and work your way up. For anything beyond your comfort zone, a professional is just a few clicks away. Connect with local experts, get free estimates, and make smart choices for your home today.