
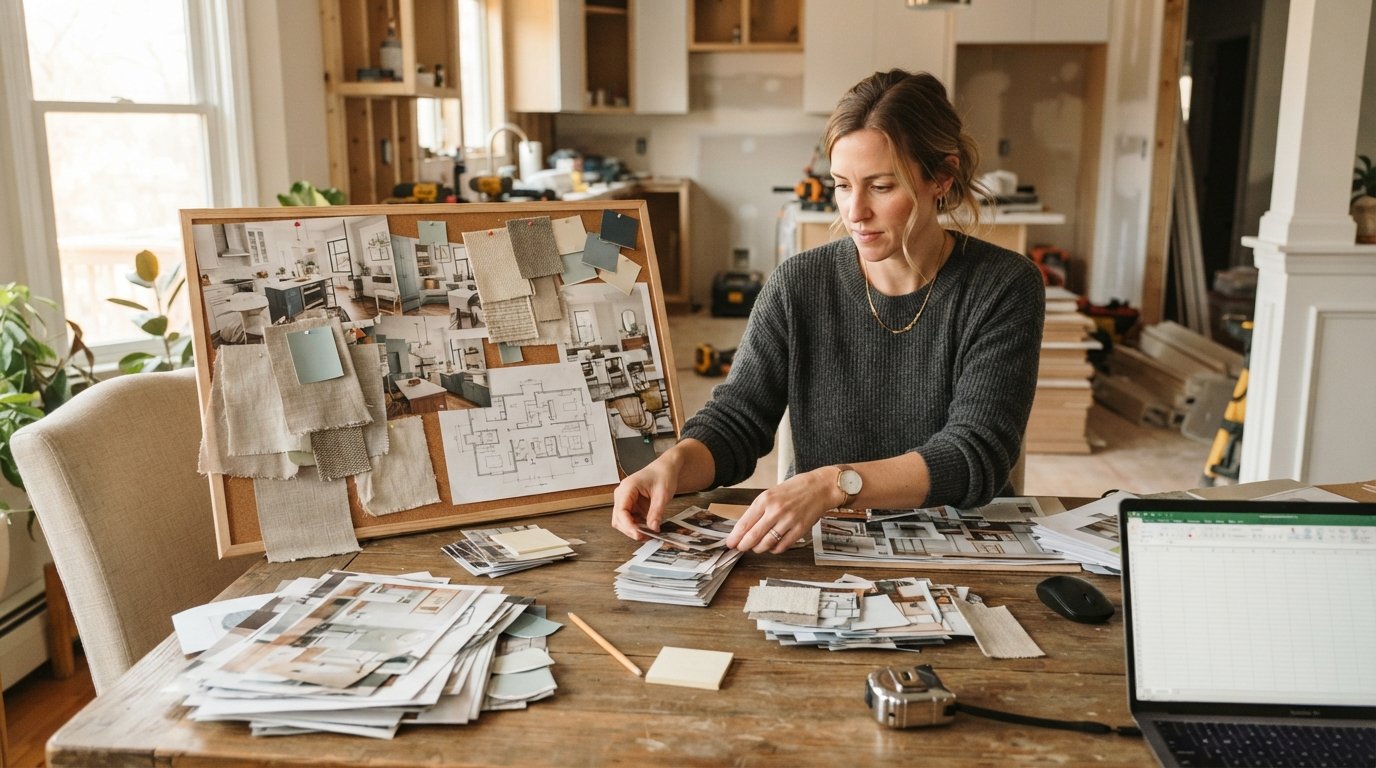
How to Create a Home Remodel Vision Board and Design Plan
Transform inspiration into a clear remodel plan before you hire anyone. Call (833)-439-3727 for free local estimates and expert guidance.

By Sarah Thomas
Learn more about Home Remodeling for guides, costs, and what to expect.
Compare Home Remodeling Pros Near You

Enter your ZIP code to compare top-rated local professionals and request free quotes.
You have been saving kitchen photos for months: a deep farmhouse sink here, a quartz waterfall island there, maybe a walk-in pantry that makes your current cabinets feel inadequate. Your phone gallery is full, your Pinterest boards are overflowing, and yet when a contractor asks what you actually want, you freeze. That gap between scattered inspiration and a buildable plan is where most remodels lose time and money. Creating a home remodel vision board and design plan closes that gap. It turns vague longing into a prioritized, budget-aware document that contractors can price accurately and you can defend when the inevitable upcharges appear.
This guide walks you through the full process, from collecting ideas to using your finished plan as the foundation for free local estimates. You will learn how to sort must-haves from nice-to-haves, build a mood board that communicates your style in seconds, and decide when a designer earns their fee versus when you can organize the vision yourself. By the end, you will have a practical framework you can apply to a kitchen, bathroom, basement, or whole-home renovation.
Why a Vision Board and Design Plan Matter Before You Call a Contractor
Most homeowners start the remodeling conversation backwards. They call three contractors, describe a vague idea ("we want to open up the kitchen"), and then react to whatever numbers come back. That approach invites confusion. Each contractor prices a different interpretation of your idea, so the bids are not comparable, and you cannot tell whether the expensive one is overpriced or simply including work the others missed.
A vision board and design plan flip the sequence. The vision board captures the look and feel you want: colors, textures, materials, lighting, and the overall mood. The design plan captures the practical side: scope, priorities, budget ranges, and the non-negotiables. Together they give every contractor the same brief, which makes bids easier to compare and reduces the chance of surprise change orders later.
There is a financial benefit too. Contractors price risk. When your goals are clear and your selections are made, the contractor spends less time guessing and more time building, and that efficiency often shows up in the quote. Homeowners who arrive with a organized plan also tend to get faster responses because contractors can see the project is serious and well defined. If you want a deeper look at preparing your project before you start interviewing pros, our guide on how to design your home remodel before hiring a contractor pairs well with this process.
Gather Inspiration Without Drowning in It
The first phase is collection, and it should feel loose and creative. Give yourself two to three weeks to save anything that catches your eye: photos from design blogs, screenshots from social media, paint chips, flooring samples, even hotel bathrooms you loved on vacation. Do not edit yet. The goal is volume, because patterns only emerge when you have enough material to compare.
As you collect, pay attention to what specifically attracts you in each image. A photo of a beautiful bathroom might appeal because of the lighting, the tile shape, the color palette, or the layout. Save the image and add a one-line note about what you like. This small habit turns a passive gallery into usable data. When you review later, you will see that twelve of your twenty favorite kitchens share the same cabinet color or countertop edge, and that is your true preference speaking.
Keep your sources organized. A simple approach is to create three folders or boards: one for overall style, one for specific materials and finishes, and one for functional ideas like storage solutions or layout changes. This structure mirrors the two-part plan you are building and makes the sorting phase much faster.
Turn Scattered Photos Into a Prioritized Wish List
Once you have a healthy collection, set aside an evening to review everything in one sitting. Open your saved images and sort them into the three folders you created. Then, for each folder, write down the concrete features you see repeating. Instead of "modern kitchen," write "flat-panel cabinets, integrated handles, quartz counters, matte black fixtures." Specific language is what contractors can price and what you can compare against bids.
Next, build your wish list and rank every item by importance. A simple three-tier system works well:
- Must-have: The project does not feel complete without it, and you are willing to increase the budget or cut elsewhere to keep it.
- Nice-to-have: You would love it, but you can live without it if costs climb.
- Dream item: Aspirational features to revisit only if the budget allows or if a future phase makes them possible.
The value of this ranking is that it gives you a script for budget conversations. When a contractor says the custom range hood adds $4,000, you already know whether it is a must-have or the first thing to cut. Without the ranking, every decision feels equally weighted, and homeowners often protect the wrong items while sacrificing the ones that actually matter to daily life.
Be honest about how you use your home. A family of five that cooks every night has different must-haves than a couple who orders in most evenings. Write down the pain points you want the remodel to solve: not enough counter space, poor lighting over the sink, a bathroom that two people cannot use at once. These functional goals belong on the wish list alongside the aesthetic ones, and they often matter more to your satisfaction after the project is done.
Build a Mood Board That Speaks for You
A mood board is the visual summary of your vision, and its job is to communicate style quickly. Contractors, designers, and suppliers look at dozens of projects a week. A single well-organized board showing your palette, materials, and reference images lets them understand your direction in under a minute, which means fewer miscommunications and fewer revision cycles.
You do not need design software. A physical board with printed photos and material samples works beautifully, and many homeowners prefer it because they can touch the finishes. A digital board made in a free tool or even a simple document with a grid of images is equally effective and easier to share by email. Whichever format you choose, organize the board around four elements:
- Color palette: Three to five swatches showing the dominant, secondary, and accent colors.
- Materials and finishes: Photos or samples of flooring, countertops, tile, cabinet fronts, and metal finishes.
- Lighting and fixtures: The style of pendant lights, vanity fixtures, or hardware you gravitate toward.
- Overall mood images: Two or three wide shots of finished rooms that capture the feeling you want.
Keep the board focused. A common mistake is including every idea you like, which produces a confusing collage that reads as indecision. If two images conflict, choose the one that better matches your must-have list and set the other aside for a future project. The mood board should feel like one coherent direction, not a museum of possibilities.
Draft the Design Plan: Scope, Budget, and Sequence
With the wish list ranked and the mood board assembled, you can write the design plan itself. This is a short document, typically two to four pages, that covers what the project includes, what it excludes, and how it will be funded and sequenced. It does not need to be formal, but it should be specific enough that a contractor could read it and understand the job.
Start with the scope statement. Describe the rooms involved, the work being done, and the functional goals. For example: "Update the primary bathroom: replace vanity, flooring, and shower tile; improve lighting; add a second sink if plumbing allows." Then list the exclusions: "No layout change to the tub area; no window replacement." Exclusions matter because they prevent a contractor from pricing work you did not ask for and prevent you from assuming work is included when it is not.
Next, attach budget ranges to each category. You do not need exact numbers at this stage, but you should know roughly what you can spend overall and how you want to divide it among labor, materials, fixtures, and contingency. A common guideline is to reserve 10 to 20 percent of the total budget for unexpected conditions, especially in older homes where opening a wall can reveal outdated wiring or water damage. If your wish list exceeds the budget, use the ranking to trim from the bottom until the numbers align.
Finally, note the sequence. Which items must happen together, and which could be phased later? A kitchen remodel that moves plumbing is a different project than one that keeps the sink in place, and knowing that difference before you request quotes helps you compare bids fairly. Phasing can also make an ambitious vision affordable: do the structural and mechanical work now, and save cosmetic upgrades like cabinet refacing or a new backsplash for a later phase.
Decide When to Bring In a Designer
Many homeowners can organize their own vision and design plan, especially for cosmetic updates like paint, flooring, and fixture swaps. But some projects benefit from professional design help, and knowing the difference saves money in the long run. Consider hiring a designer or design-build firm when your project involves structural changes, complex layouts, permit requirements, or a whole-home renovation where dozens of decisions must coordinate.
A designer earns their fee by catching expensive mistakes before construction starts: a door that will not fit once the new flooring is installed, a lighting plan that leaves the workspace in shadow, a layout that looks good on paper but feels cramped in reality. They also have trade relationships that can speed up material selection and sometimes unlock pricing you cannot access as an individual buyer. If you are handy with spatial planning and your project is straightforward, self-organizing is reasonable. If you feel uncertain about layout or code requirements, bring in help early, before you request contractor bids, so the design is settled when pricing begins.
Use Your Plan to Request Free Local Estimates
Your finished vision board and design plan become the brief you hand to contractors. This changes the estimate process in your favor. Instead of asking for a vague number, you are asking for a priced response to a defined scope, which makes bids comparable and conversations more productive. When you contact contractors, share the mood board and scope document, and ask each one to itemize labor, materials, and allowances so you can see where the differences lie.
Request at least three estimates and compare them line by line. A lower bid is not automatically better if it excludes work you need or uses allowances that will not cover your selections. A higher bid is not automatically overpriced if it includes better materials or more thorough preparation. Your design plan gives you the reference point to judge both. For homeowners who want help finding vetted local pros and requesting free estimates, BuySellRemodel connects you with experienced contractors so you can compare options and move forward with confidence.
During the estimate visits, walk each contractor through the mood board and ask what they would change. Their reactions tell you a lot. A good contractor will point out potential conflicts, suggest cost-effective alternatives, and ask clarifying questions. A contractor who ignores your plan and quotes something generic is telling you how they will treat change orders later. Use the plan as a conversation tool, not a rigid script, and update it as you learn.
Keep the Plan Alive Through Construction
A design plan is not finished when the bids arrive. It stays useful through the entire project as a reference for selections, a record of decisions, and a shield against scope creep. When a contractor asks which tile you chose, the answer should already be in the plan. When a well-meaning family member suggests adding a skylight mid-project, you can check the plan, see it was never a must-have, and decide without emotion.
Update the plan as decisions are finalized. Record the exact model numbers, paint colors, and finish names so there is no ambiguity during installation. Keep receipts and change orders in the same folder. If a dispute arises, a clear paper trail protects you. And when the project is complete, the plan becomes a useful record for future maintenance, resale disclosures, and the next remodel down the road.
Creating a home remodel vision board and design plan takes a few weeks of focused effort, but it pays back in clearer bids, fewer surprises, and a finished space that actually reflects how you live. Start with the collection phase this week, sort your inspiration into a ranked wish list, and build the mood board before you call anyone. Your future self, and your budget, will thank you.