
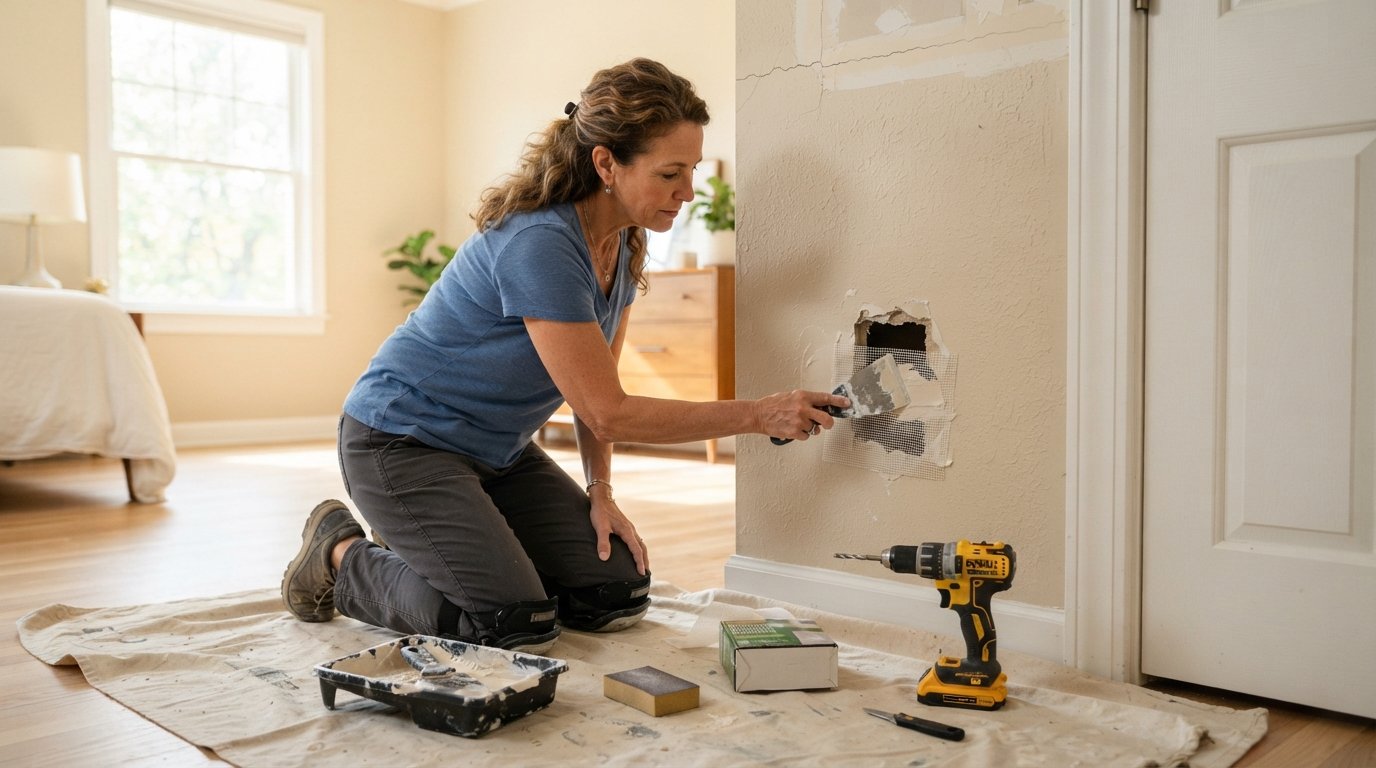
DIY versus Professional Drywall Repair: Cost and Skills
Compare DIY versus professional drywall repair cost and skills, from $20 patch kits to $300 pro visits, and learn which repairs are worth hiring out.

By Cameron Howard
Learn more about Drywall Repair and Texturing for guides, costs, and what to expect.
Compare Drywall Repair and Texturing Pros Near You

Enter your ZIP code to compare top-rated local professionals and request free quotes.
A hole punched through a bedroom wall, a stress crack above a doorway, or a water stain spreading across the ceiling: drywall damage is one of the most common headaches homeowners face. The moment you spot it, two questions surface. Can I fix this myself, and what will it actually cost? The gap between a five dollar patch kit and a five hundred dollar professional invoice is real, but so is the gap in skill, tools, and finish quality. Understanding where that gap matters, and where it does not, is the fastest way to make a smart decision for your home and your wallet.
Why Drywall Damage Is So Common in American Homes
Drywall, also called sheetrock or gypsum board, became the dominant interior wall material in the United States after World War II because it was cheap, fast to install, and easy to paint. That affordability came with a tradeoff: gypsum panels are soft. A doorknob, a moving box, a stray elbow, or a slow plumbing leak can all leave a mark. Over time, homes also settle, and settling produces hairline cracks at corners, above door frames, and along ceiling seams.
Most damage falls into a handful of categories. Small nail pops and hairline cracks are cosmetic. Doorknob dents and medium holes (roughly one to six inches) are structural only in the sense that they need a patch. Large holes from accidents or removed fixtures, water damaged sections, and cracked seams from foundation movement demand more serious work. Each category carries a different DIY difficulty level and a different professional price tag, which is why a blanket answer to the DIY question does not exist.
Homeowners also underestimate how much of a drywall job is finishing rather than patching. Hanging a piece of board takes minutes. Making that patch invisible under paint takes sanding, feathering, and patience. That finishing stage is where professional crews earn their money and where most DIY attempts fall short.
DIY Drywall Repair: Realistic Costs and Skill Requirements
On paper, DIY drywall repair looks like a bargain. A small tub of joint compound costs under ten dollars, a patch kit runs fifteen to twenty five dollars, and a basic putty knife and sanding sponge add another ten. For a single doorknob dent, the entire project can come in under forty dollars. That is the honest appeal of doing it yourself, and for genuinely small repairs, it is hard to beat.
The math changes as the repair grows. A medium hole requiring a piece of drywall, a backer board, mesh tape, and a full finishing cycle pushes material costs to fifty or eighty dollars. Add tools you may not own, such as a drywall saw, a taping knife set, a corner tool, and a pole sander, and the first project can easily hit one hundred fifty dollars or more. Those tools last for future jobs, so the cost per repair drops over time, but the upfront number surprises many first timers.
Skill requirements scale even faster than costs. Here is what a successful DIY drywall repair actually demands:
- Cutting drywall accurately around outlets, corners, and irregular hole shapes
- Installing backer support so the patch does not flex or crack
- Applying joint compound in thin, even coats without leaving ridges
- Feathering edges wide enough (usually ten to twelve inches beyond the patch) to hide the seam
- Sanding without gouging the paper surface or breathing excessive dust
Each of those steps has a failure mode. Patches that were not properly backed will crack within months. Compound applied too thickly shrinks and leaves a visible crater. Aggressive sanding tears the paper facing and creates a fuzzy texture that paint cannot hide. None of these mistakes are catastrophic, but each one means another round of compound, another day of drying, and another layer of frustration.
Time is the other hidden cost. Joint compound needs to dry between coats, typically twelve to twenty four hours per coat, and most patches need three coats. A job a professional completes in a single visit can stretch across three or four days for a homeowner working evenings. If the damaged wall sits in a main living area, that timeline matters.
Professional Drywall Repair: What You Pay For and Why
Professional drywall repair pricing usually combines a minimum service call with per patch or per square foot charges. In most markets, homeowners should expect a minimum visit fee in the range of one hundred fifty to three hundred dollars, which covers small jobs. Beyond that, simple patches often run seventy five to one hundred fifty dollars each, while larger or water damaged sections are quoted by the square foot, commonly three to six dollars per square foot installed and finished.
Several factors move that number up or down. Ceiling work costs more than wall work because it is physically harder. Textured ceilings, especially older popcorn or heavy knockdown finishes, require matching the texture, which adds labor. Water damage often hides mold or compromised framing behind the board, and any remediation pushes the price higher. Painting is frequently excluded from drywall quotes, so a finished and painted wall may cost noticeably more than a patched one.
What the homeowner receives in exchange is predictability. A reputable crew arrives with the right tools, protects floors and furniture, completes the patch and finish in one or two visits, and leaves a surface that disappears under paint. Many contractors also guarantee their work, meaning a crack that reappears is their problem to solve, not yours. For anyone weighing a larger project, it also helps to understand how drywall pricing fits into broader renovation budgets, and our roof repair costs price guide shows how trade minimums and per area pricing work across different home repair categories.
The strongest argument for hiring a pro is not speed alone. It is the invisibility standard. A professionally finished patch should be undetectable under paint in normal lighting. That standard is genuinely difficult to reach without practice, and it is the outcome most homeowners actually want.
Comparing DIY versus Professional Drywall Repair Cost and Skills Side by Side
The clearest way to choose is to compare the two paths across the dimensions that matter: money, time, tools, risk, and finish quality. A small cosmetic crack favors DIY on almost every axis. A ceiling patch above a staircase favors a professional on almost every axis. Most real situations fall in between, which is why a simple decision framework helps more than a rigid rule.
Consider a medium wall hole, roughly four inches across, in a painted bedroom. DIY materials might total forty to sixty dollars, spread over three evenings of work and one trip to the hardware store. A professional might charge two hundred to three hundred fifty dollars and finish in one visit. The DIY route saves real money if the homeowner has basic skills and patience. The professional route saves time and guarantees a clean result. Neither answer is wrong; the right one depends on which resource is scarcer for that household.
For homeowners who want a faster read, this quick comparison captures the tradeoffs:
- Cost: DIY ranges from under twenty dollars for tiny patches to roughly one hundred fifty dollars in materials and tools for medium jobs; professional work typically starts around one hundred fifty dollars and rises with size, height, and texture.
- Time: DIY spreads across multiple days because of drying times; professionals usually complete small and medium repairs in one visit.
- Tools: DIY requires buying or borrowing knives, tape, sanders, and dust protection; pros bring everything and clean up.
- Risk: DIY risks visible seams, cracks, and dust mess; professional work carries a workmanship guarantee.
- Finish quality: DIY results vary widely with experience; professional results are paint ready and invisible.
One more factor deserves attention: hidden damage. Water stains and soft spots can signal moisture behind the wall, and covering that up with a patch traps the problem. Professionals are trained to recognize those warning signs and will flag issues like leaks, mold, or failing framing before finishing the surface. That diagnostic value is easy to overlook when comparing line item prices, but it can save thousands in future repairs.
When DIY Makes Sense and When to Call a Pro
DIY drywall repair is a reasonable choice in specific, well defined situations. Small nail pops, hairline cracks under an eighth of an inch, doorknob dents, and holes under two inches are all good candidates for a confident beginner. These repairs need minimal material, tolerate imperfect technique, and sit in low visibility spots or accept a small texture difference without drawing the eye.
Hiring a professional makes more sense when the repair involves any of the following conditions:
- Holes larger than six inches or any patch that requires installing new drywall board
- Ceiling damage, especially above stairs, tall walls, or hard to reach areas
- Water stains, soft drywall, or any suspicion of mold or an active leak
- Textured walls and ceilings where the finish must be matched
- Visible locations such as living room walls, entryways, or anywhere guests will notice imperfections
There is also a middle path worth considering. Some homeowners handle the demolition and prep work themselves, removing loose material and clearing the area, then hire a pro for the finishing and texture match. This hybrid approach can trim labor costs while keeping the visible result professional. It works best when the homeowner and contractor agree on scope in writing before work begins.
Whatever path you choose, getting real numbers before committing is the single best way to avoid overpaying. Requesting free estimates from local contractors lets you compare quotes for the same scope of work, which turns a vague sense of cost into a concrete decision. Platforms like BuySellRemodel help homeowners plan affordable improvement projects and connect with experienced local pros, from free estimates through completed repairs, so the right professional is easier to find and the job gets done right.
Practical Steps to Get the Best Outcome at the Best Price
Start by assessing the damage honestly. Photograph the area, measure the hole, and check for moisture with your hand and nose. If the drywall feels soft, crumbles, or smells musty, treat it as a water problem first and a drywall problem second. Then decide whether the repair is truly small enough for a first attempt, or whether it belongs in professional hands.
If you go the DIY route, buy slightly more compound and tape than you think you need, apply thinner coats than feels natural, and accept that the drying schedule cannot be rushed. If you hire a pro, describe the damage accurately when requesting quotes, ask whether texture matching and painting are included, and confirm the warranty in writing. Getting three estimates for anything beyond a tiny patch is standard practice and usually pays for itself in savings.
Finally, think beyond the single repair. A wall with one patch is a small project, but a home with recurring cracks, stained ceilings, or multiple damaged rooms may be telling a bigger story about settling, ventilation, or plumbing. Addressing the cause costs less than repairing the symptom repeatedly, and a qualified contractor can help you see the difference during a routine estimate visit.
Drywall repair is one of the few home improvement tasks where the DIY versus professional decision genuinely swings both ways. Tiny damage rewards a confident homeowner with savings. Larger, higher, wetter, or more visible damage rewards professional skill with a finish that lasts and a guarantee behind it. Match the method to the mess, gather real quotes before you commit, and either path can deliver a wall that looks like nothing ever happened.