
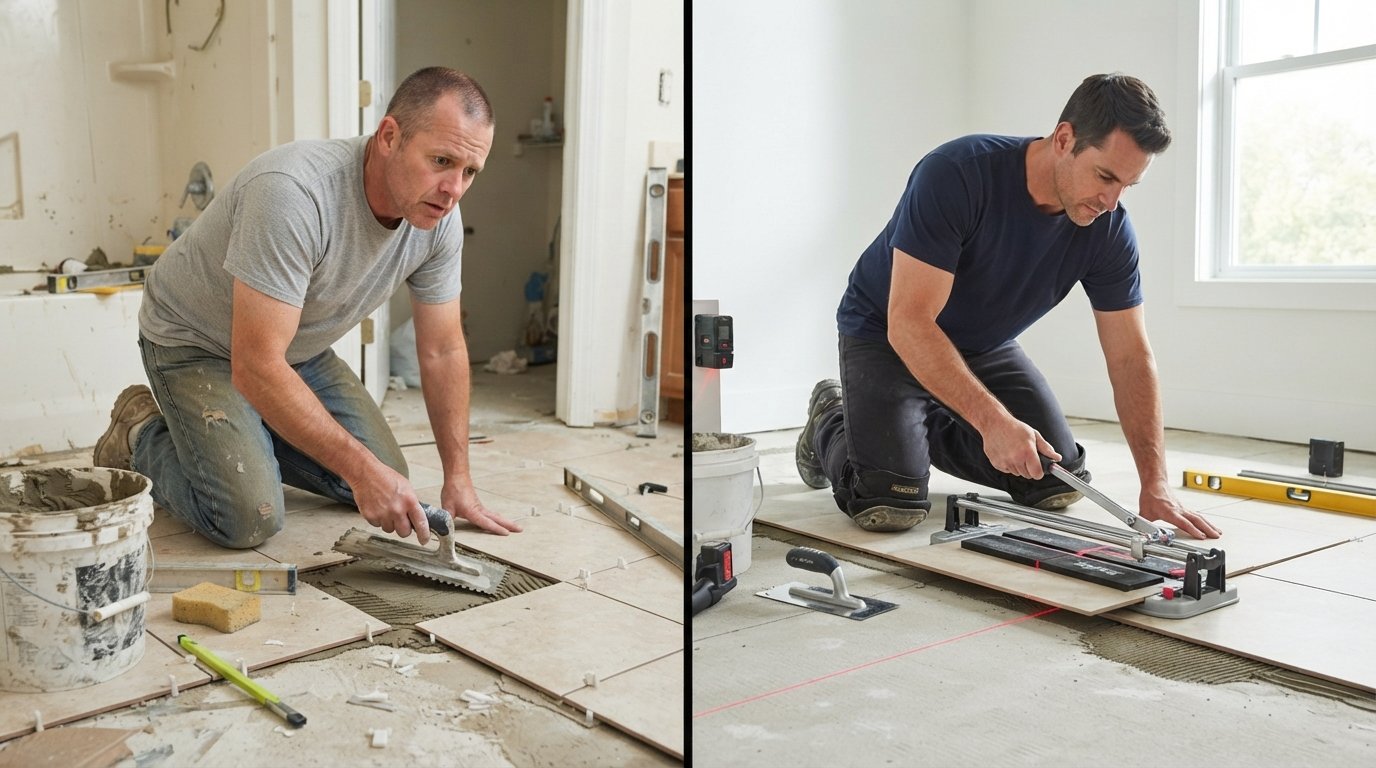
DIY vs Professional Tile Installation: Cost and Skills
Weigh DIY versus professional tile installation cost and skills, then call 8334393727 for free local estimates and a stress-free, durable finish.

By Wendy Walsh
Learn more about Tile Installation and Replacement for guides, costs, and what to expect.
Compare Tile Installation and Replacement Pros Near You

Enter your ZIP code to compare top-rated local professionals and request free quotes.
Tile installation looks deceptively simple on video: spread thinset, set the tile, grout, and walk away. In reality, it is one of the least forgiving home improvement projects a homeowner can tackle. A wavy substrate, a miscalculated layout, or a bag of thinset mixed too thin can turn a weekend project into a demolition and redo that costs more than hiring a pro in the first place. The real question is not whether you can physically place tile, but whether your skills, tools, and schedule can produce a floor or wall that stays flat, level, and waterproof for the next 20 years. That is why comparing DIY versus professional tile installation cost and skills matters before you buy a single box of tile: the gap between the two paths is rarely about the price of materials, and almost always about preparation, precision, and risk.
What Tile Installation Actually Requires
Most tile failures do not come from bad tile. They come from what is underneath it. A successful installation depends on a substrate that is flat within a strict tolerance, usually no more than 1/8 inch of variation over 10 feet for large-format tile. It also depends on correct backer board or membrane selection, proper thinset coverage (often 90 percent or more for floor tile in wet areas), and consistent grout joints. None of these steps are visible when the job is finished, which is exactly why they are easy to skip and expensive to get wrong.
Beyond the hidden work, tile demands layout planning. You have to find the center of the room, account for doorways and cabinets, decide where cut tiles will land, and plan around obstacles like toilets, outlets, and floor drains. A layout that looks fine on paper can leave a sliver of tile against a wall or an awkward cut in the middle of a traffic path. Professionals solve these problems before the first tile is set, and that planning is a large part of what you are paying for.
The skill set also includes cutting. Ceramic tile can be scored and snapped with a manual cutter, but porcelain, natural stone, and large-format tiles often require a wet saw with a quality blade. Curved cuts around pipes, niches, and drains call for an angle grinder or tile hole saw. If you have never used these tools, the learning curve shows up as chipped edges and wasted material, and tile is not cheap enough to practice on.
The Real Cost of DIY Tile Installation
At first glance, DIY tile installation looks like a clear win. You save the labor charge, which typically ranges from $4 to $14 per square foot depending on tile type, pattern, and region. On a 200-square-foot bathroom floor, that could mean saving $800 to $2,800 in labor. But the DIY budget is not just tile and thinset. It includes tools, mistakes, and time, and those three items are where the savings often disappear.
Here is a realistic breakdown of what a DIY tiler needs to buy or rent for a typical floor and wall project:
- Wet saw or high-quality manual cutter: $80 to $1,200 depending on capacity
- Mixing drill and paddle, trowels, floats, sponges, spacers, and leveling clips: $100 to $250
- Safety gear, knee pads, and blades: $60 to $150
- Extra tile and thinset for cuts and errors: 10 to 15 percent above the measured area
Add the cost of correcting a failed installation and the math shifts further. If a shower pan leaks because the waterproofing was installed incorrectly, the repair can involve removing tile, backer board, and framing, then rebuilding from scratch. That is not a DIY savings story; it is a DIY loss that a professional installation would have prevented. Homeowners who want a realistic comparison of labor versus materials should also look at how similar trade-offs play out in other rooms, such as in this guide to DIY versus professional drywall repair, where the same pattern of hidden prep work drives the final price.
Time is the other cost. A skilled installer can set a 200-square-foot floor in a day and grout the next. A first-timer should expect two to four times that long, plus trips to the store for forgotten supplies. If you are taking unpaid time off work, the true hourly value of your DIY labor may be lower than you think.
What Professional Tile Installation Costs
Professional tile installation pricing usually includes labor, adhesive, grout, and sometimes backer board and waterproofing, depending on the quote. National averages fall into a few broad ranges. Basic ceramic floor tile runs about $4 to $8 per square foot installed. Porcelain and large-format tile typically run $8 to $14 per square foot. Natural stone, intricate patterns like herringbone, and shower walls with niches and benches push the number higher, sometimes to $20 per square foot or more.
Those numbers can feel high until you unpack what is included. A reputable installer brings the saws, mixers, and layout experience. They handle substrate prep, which often means leveling compound, crack isolation membrane, or a waterproofing system in wet areas. They carry insurance and usually warranty their work. If something fails, you have recourse. That warranty and accountability are part of the price, and for many homeowners, they are worth more than the labor savings of doing it alone.
Getting an accurate professional quote is also easier than it used to be. Instead of calling five contractors and waiting a week for callbacks, homeowners can use a service like BuySellRemodel to compare local tile installers, request free estimates, and review project scopes side by side. That kind of comparison shopping is how you avoid both overpaying and hiring the cheapest bid that cuts corners on prep.
Skills You Need Before Choosing DIY
Not every tile project is equally difficult. A small backsplash with subway tile and few cuts is a reasonable first project for a careful beginner. A curbless shower with a linear drain, a heated floor, or a large-format porcelain floor over a wood subframe is not. Before deciding, honestly assess whether you can handle the following tasks without supervision.
- Measure and level a substrate to within 1/8 inch over 10 feet.
- Mix thinset to the correct consistency and maintain proper notch trowel technique.
- Plan a layout that centers the tile and hides cuts in low-visibility areas.
- Cut porcelain, stone, and curved shapes cleanly with the right tools.
- Install waterproofing and crack isolation membranes correctly in wet areas.
If any of those steps feels uncertain, the risk of a failed installation rises quickly. Tile is a finish material, and finish materials punish mistakes. A slightly uneven floor or a poorly sealed shower can look fine for months before problems appear, which makes DIY errors especially costly because they surface after the project is considered complete.
When DIY Makes Sense and When It Does Not
DIY tile installation makes the most sense for small, dry-area projects with simple cuts and forgiving materials. A kitchen backsplash, a laundry room floor, or a fireplace surround are common examples. These projects are visible, low-risk, and easy to fix if a tile or two needs to be replaced. They also give you a chance to learn the tools and techniques without exposing your home to water damage.
Professional installation makes more sense for anything involving water, large areas, or expensive materials. Bathroom floors, shower walls and pans, steam showers, and outdoor patios all fall into this category. Large-format tile, natural stone, and complex patterns also favor a pro because the cost of a bad cut or an uneven layout is high. If the tile itself costs more than the labor, it is usually worth paying someone who will not waste it.
There is also a middle path. Some homeowners handle demolition, hauling, and site prep themselves, then hire a professional for layout, waterproofing, and tile setting. This hybrid approach can reduce the total bill while keeping the riskiest work in experienced hands. It is a practical option for budget-conscious homeowners who want to stay involved without betting the project on their first wet saw session.
How to Compare Quotes and Protect Your Budget
Whichever route you choose, the estimate is where the project is won or lost. A vague quote that says "tile installation" without listing substrate prep, waterproofing, grout type, and cleanup is a quote that will grow. Ask every contractor to break the job into labor, materials, and prep, and to specify what happens if the substrate needs leveling after demolition. Good contractors expect these questions and answer them clearly.
It also helps to confirm licensing, insurance, and warranty terms in writing before work begins. A professional tile installer should be able to show proof of liability coverage and provide a written warranty on labor. If a bid is dramatically lower than the others, ask what is being left out. Often it is the prep work that keeps the installation durable, and that is the worst place to save money.
Finally, build a contingency of 10 to 15 percent into either path. Surprises happen: a soft spot in the subfloor, a discontinued tile, or a hidden moisture issue behind an old wall. A cushion keeps a manageable project from becoming a financial strain. Homeowners who plan for the unexpected are the ones who finish their tile project satisfied, whether they set the tile themselves or handed the trowel to a pro.
Tile installation rewards preparation more than enthusiasm. If you have the time, tools, and temperament to learn the craft on a low-risk surface, DIY can save real money. If your project involves water, large tile, or a strict deadline, the cost of a professional is usually the cheaper choice once mistakes, delays, and repairs are counted. Either way, compare estimates, verify the scope, and choose the path that protects both your home and your budget.