
Outdoor Kitchen Cost and Planning Guide for Homeowners
Plan your outdoor kitchen with real cost tiers, utility and permit details, and budget tips that prevent surprises before you hire a pro.

By Cameron Howard
Learn more about Outdoor Landscaping and Design for guides, costs, and what to expect.
Compare Outdoor Landscaping and Design Pros Near You

Enter your ZIP code to compare top-rated local professionals and request free quotes.
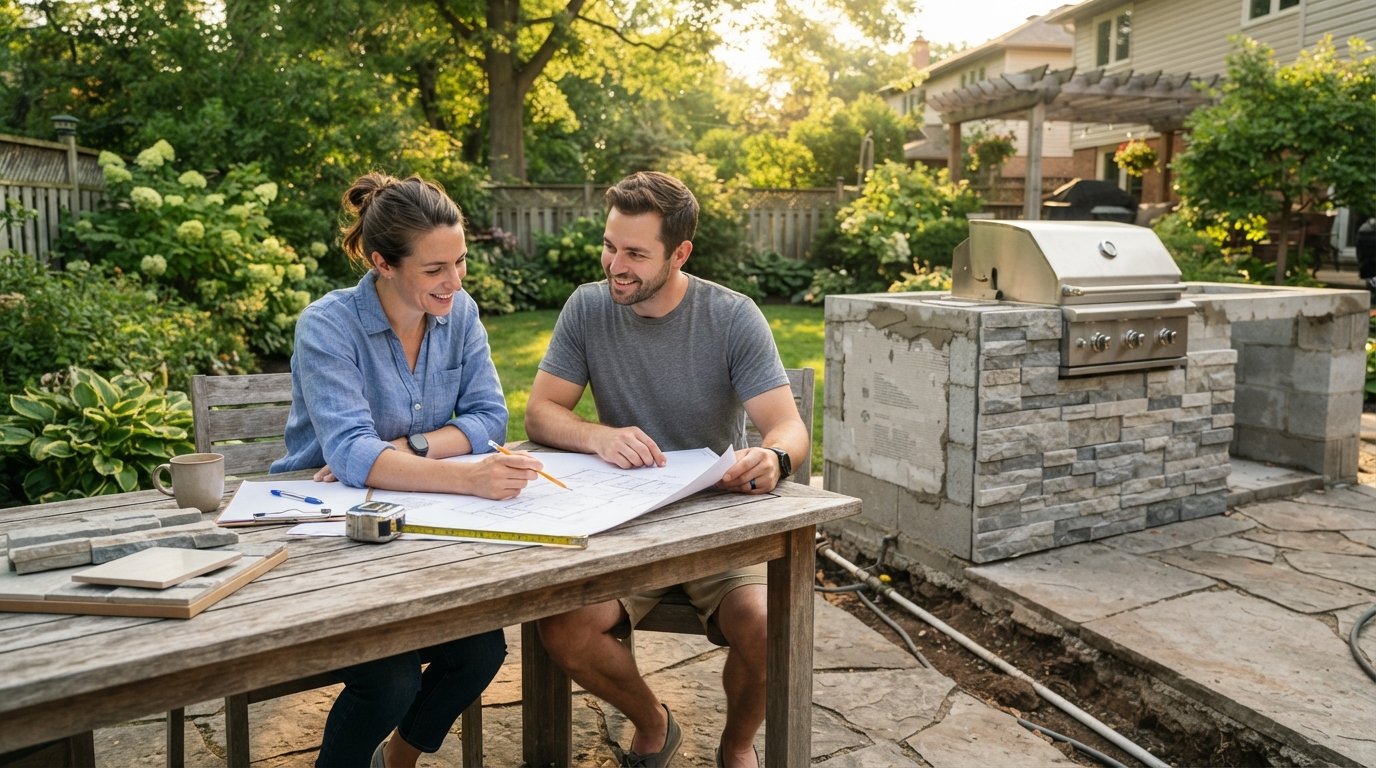
An outdoor kitchen can transform a plain backyard into the social center of your home, but the price tag often catches homeowners off guard. A simple grill station with a counter might run a few thousand dollars, while a fully loaded setup with a built-in pizza oven, refrigerator, and bar seating can climb past the cost of a small car. The gap between those two extremes is not random: it comes down to materials, utilities, appliances, and how much of the work you plan versus hire out. This outdoor kitchen cost and planning guide walks through the real numbers, the decisions that drive them, and the steps that keep a project from spiraling over budget.
Because outdoor kitchens sit at the intersection of construction, plumbing, electrical, and landscaping, they are one of the easiest home projects to underestimate. A homeowner who budgets for a grill and a countertop may not account for a gas line trench, a dedicated electrical circuit, or a concrete footer under a heavy stone island. Understanding these layers before you call a contractor is the difference between a smooth build and a stalled one. We help homeowners plan affordable projects and connect with experienced local pros, so the guidance below is built around practical numbers and realistic timelines rather than aspirational showroom photos.
What Drives Outdoor Kitchen Costs
The single biggest cost driver is the structure itself. An island built from concrete block and finished with stone or stucco costs far more than a prefabricated stainless steel cart, but it also lasts longer and holds resale value. Countertop material is the second major factor: granite and quartzite sit at the top of the range, poured concrete and tile land in the middle, and sealed wood or composite come in lower. The third driver is appliances, which can swing the total by tens of thousands of dollars depending on whether you choose a basic freestanding grill or a full suite of built-in units.
Utilities are the hidden layer that surprises most homeowners. A natural gas line, a water line for a sink, and a dedicated electrical circuit for lighting and refrigeration each require trenching, permits, and licensed labor. If your yard already has a gas stub or an outdoor outlet near the build site, you save a meaningful amount. If everything must be run from scratch, expect those line items to add thousands before a single appliance is installed.
Here is a realistic breakdown of what a mid-range outdoor kitchen project typically includes, so you can see where the money actually goes:
- Island structure and masonry: 2,000 to 8,000 dollars depending on size and material
- Countertops: 1,500 to 6,000 dollars for granite, tile, or poured concrete
- Appliances: 1,000 to 15,000 dollars or more for grills, refrigerators, and side burners
- Utilities and permits: 1,500 to 6,000 dollars for gas, water, and electrical work
- Finishing and landscaping: 1,000 to 5,000 dollars for patios, lighting, and seating
Added together, a modest but well-built outdoor kitchen usually lands between 7,000 and 20,000 dollars, while a high-end installation with premium appliances and custom stonework can exceed 40,000 dollars. The range is wide because the project is modular: you can phase it, swap materials, or defer appliances to control the total.
Budget Tiers and What You Get at Each Level
Thinking in tiers makes it easier to match your wish list to your wallet. A starter setup, sometimes called a grill zone, focuses on cooking and prep with minimal plumbing. A mid-range kitchen adds storage, a small refrigerator, and a sink, which is where most families land. A premium build layers in bar seating, a pizza oven, a kegerator, and integrated lighting, turning the space into a true entertainment area.
The table below reflects typical installed costs, not just equipment prices, and assumes you hire licensed trades for gas and electrical work:
- Starter grill zone: 3,000 to 8,000 dollars, includes a freestanding or built-in grill, small counter, and basic storage
- Mid-range kitchen: 8,000 to 20,000 dollars, adds a sink, refrigerator, side burner, and larger island
- Premium outdoor kitchen: 20,000 to 50,000 dollars or more, includes bar seating, pizza oven, premium appliances, and custom stone
Notice that the jump from starter to mid-range is mostly about utilities and appliances, not square footage. Adding a sink means running a water line and a drain, which often triggers a plumbing permit. Adding a refrigerator means a dedicated circuit, which may require an electrical panel upgrade if your home is older. These are the line items where homeowners most often blow their budget, so price them early rather than after the island is framed.
If you are also considering a larger backyard structure such as a guest suite or pool house, it helps to understand how those projects compare. Our ADU construction costs and planning guide covers the permitting, utility, and foundation costs that overlap with outdoor kitchen builds, and it is a useful reference if your backyard plan is expanding beyond a cooking area.
Planning Steps That Keep the Project on Budget
Good planning starts with the site, not the appliances. Walk your yard and note where gas, water, and power already exist, how much shade the area gets, and how far the kitchen sits from the house. Distance matters because every extra foot of trenching adds cost. A kitchen placed against the house wall is almost always cheaper to build than a freestanding island in the middle of the lawn, because utilities run shorter and the house can provide partial shelter.
Next, decide what you actually cook. A family that grills burgers and vegetables needs a different setup than someone who smokes brisket for hours or hosts pizza nights. Write down your top three cooking habits and build the kitchen around them. This simple exercise prevents the common mistake of buying appliances you will rarely use, which is where a lot of wasted budget hides.
Then follow a sequence that keeps decisions in the right order:
- Set a total budget and reserve 15 to 20 percent for surprises, permits, and utility upgrades.
- Choose the location and confirm utility routes before designing the island.
- Select appliances first, since their dimensions and power needs shape the structure.
- Pick materials for the frame, countertop, and finish based on climate and maintenance.
- Get at least three written estimates that separate labor, materials, and permits.
Getting multiple estimates is not just about price. It reveals how each contractor handles permits, whether they subcontract gas and electrical work to licensed pros, and how they handle change orders. Comparing bids side by side also exposes estimates that look low because they omit utility work or disposal fees. For a deeper look at vetting, our guide on how to hire a remodeling contractor without regret walks through the questions that separate reliable pros from risky ones.
If you want a faster way to compare local options, BuySellRemodel helps homeowners plan affordable home improvement projects and connect with experienced local contractors, from free estimates to remodeling, repairs, and upgrades. Using a service like that early in the planning stage gives you real numbers to work with before you commit to a design.
Materials, Climate, and Long-Term Value
Outdoor kitchens live outside, so material choice is about durability as much as looks. In hot, sunny climates, dark stone countertops can become too hot to touch, while in freeze-thaw regions, certain tile and concrete finishes crack if they are not sealed properly. Stainless steel appliances resist rust but show fingerprints, and marine-grade cabinets cost more than wood but survive humidity far better. Matching materials to your climate is one of the smartest ways to protect your investment.
Resale value is another consideration. Outdoor kitchens rarely return their full cost at sale, but they can shorten time on market and attract buyers in regions where outdoor living is a priority. The projects that hold value best tend to be well-integrated with the home, built from durable materials, and sized appropriately for the yard. A massive kitchen on a small patio can feel out of place, while a modest setup that matches the home's style tends to appraise better.
Maintenance deserves a line in your budget too. Stone needs resealing, stainless steel needs cleaning, and covers protect appliances during off-seasons. Setting aside a few hundred dollars a year for upkeep keeps the space functional and prevents small issues from becoming expensive repairs, which is a detail many planning guides skip.
Permits, Utilities, and Safety Basics
Most outdoor kitchen projects require at least one permit, usually for electrical or gas work, and sometimes for the structure itself if it includes a roof or is attached to the home. Skipping permits can void insurance coverage and create problems at resale, so treat them as a fixed cost rather than an optional one. A licensed contractor will typically pull the permits for you, but you should confirm who is responsible before work begins.
Safety follows the same logic. Gas appliances need proper ventilation and shut-off valves, electrical outlets near water need GFCI protection, and any structure with a roof needs to meet local wind and snow load codes. These requirements are not red tape for its own sake: they protect your family and your home. Always have gas and electrical connections installed by licensed professionals, and keep a fire extinguisher within reach of the grill.
If your home's electrical panel is already near capacity, adding outdoor circuits may trigger an upgrade. That is a significant cost, often 1,500 to 4,000 dollars, but it also improves the safety and capacity of your whole home. Factoring it in early avoids a mid-project surprise and lets you decide whether to phase the kitchen or upgrade the panel first.
Financing and Phasing Your Build
Not everyone can fund a full outdoor kitchen at once, and that is fine. Phasing the project is a legitimate strategy: build the island and gas line first, add the sink and refrigerator the following year, and install lighting and seating last. Phasing spreads the cost, lets you test how you actually use the space, and reduces the risk of overbuilding.
Financing options include home equity loans, cash-out refinancing, and contractor-offered payment plans. Each has trade-offs in interest rates and terms, so compare them the same way you compare contractor bids. The key is to set a ceiling before you start and resist the urge to upgrade appliances mid-build, since change orders are one of the most common reasons outdoor kitchen budgets fail.
Finally, keep a simple project file with your estimates, permits, receipts, and warranty information. When you sell the home, that documentation shows the work was done properly, which can support your asking price and reassure buyers. Planning an outdoor kitchen is ultimately a series of small, informed decisions, and the homeowners who make them in order, site first, then utilities, then appliances, then finishes, are the ones who end up with a space they love at a price they can live with.