
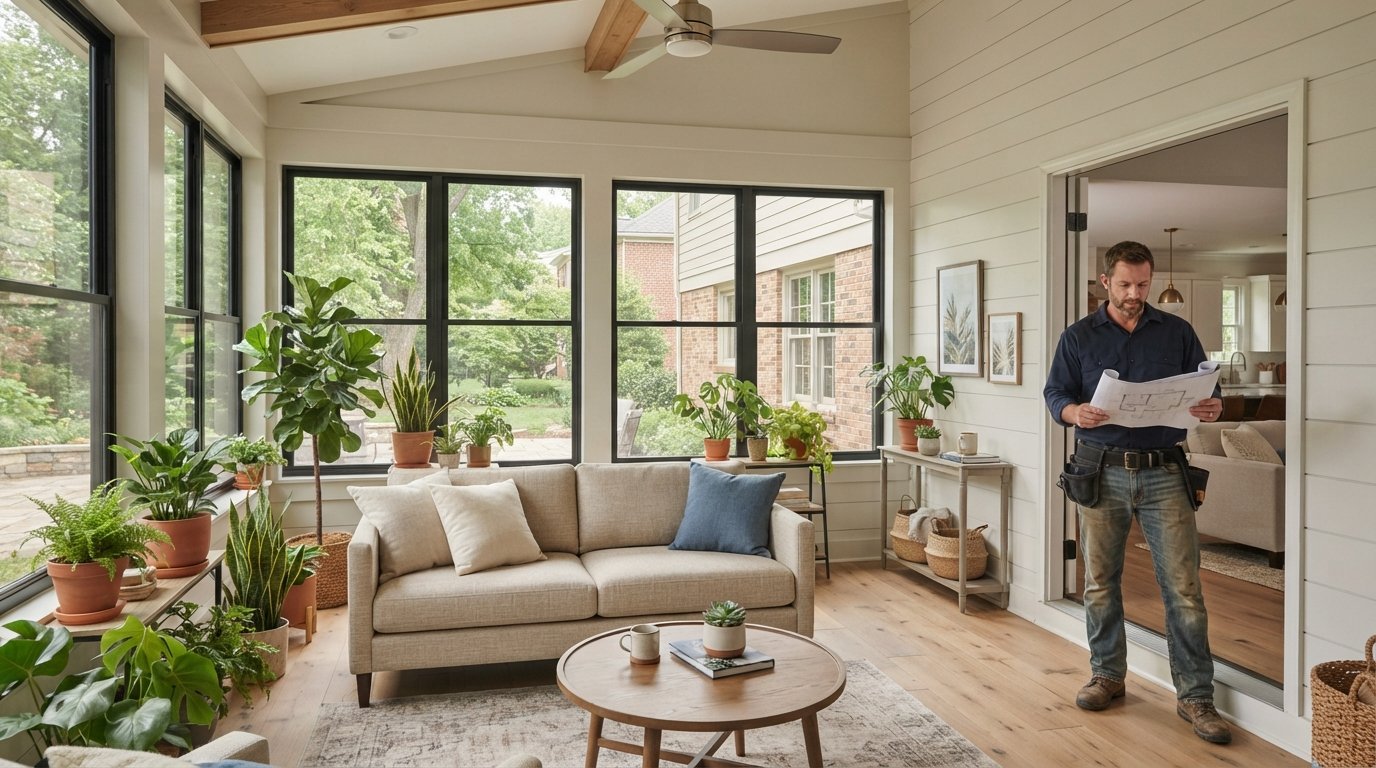
Sunroom Addition Cost and Year Round Design Ideas
Plan a comfortable sunroom with realistic costs and smart design ideas for year round use. Call (833)-439-3727 for free local estimates.

By Sarah Thomas
Learn more about Home Remodeling for guides, costs, and what to expect.
Compare Home Remodeling Pros Near You

Enter your ZIP code to compare top-rated local professionals and request free quotes.
A sunroom can be the most loved room in your house, a bright transition space where morning coffee tastes better and afternoon reading feels like a mini vacation. But the gap between a dreamy three-season porch and a true year-round retreat comes down to construction details, and those details carry a price tag. Homeowners who plan carefully can build a sunroom that stays comfortable in January without watching the energy bill climb, and they can do it without overspending by understanding where the real cost drivers live. This guide breaks down realistic cost ranges, the construction choices that separate a seasonal space from a four-season one, and design ideas that make the room usable every month of the year. It also explains how to compare local quotes so you can move forward with confidence instead of guesswork.
Three-Season vs. Four-Season Sunrooms: The Cost Gap Explained
The first decision that shapes your budget is whether the sunroom needs to be comfortable in freezing weather. A three-season room, sometimes called a screened porch or a seasonal sunroom, is built to extend your living space through spring, summer, and fall. It typically uses single-pane or basic insulated glass, minimal wall insulation, and no dedicated heating or cooling system. It is the more affordable option, and for many families in mild climates it delivers plenty of value.
A four-season sunroom is engineered for year-round use. That means insulated walls and floors, high-performance glazing, a robust frame, and a dedicated HVAC solution such as a ductless mini-split, an extension of the home's existing system, or radiant floor heat. The construction standards are closer to those of a conditioned living space, which is why the cost gap is significant. In broad terms, a three-season sunroom often lands in the range of $15,000 to $35,000, while a four-season addition commonly runs from $30,000 to $75,000 or more depending on size, materials, and local labor rates. The difference is not cosmetic: it reflects insulation, glazing, foundation, electrical, and HVAC work that has to be done correctly to prevent condensation, drafts, and moisture problems.
It helps to think of the decision as a trade between upfront cost and usable months. If you live in a region with long, harsh winters, a three-season room may sit unused for four or five months a year, which can make the four-season investment easier to justify over time. If winters are short and mild, a well-built three-season room can be the smarter budget move. Either way, the key is to match the construction type to how you actually intend to use the room, not to the glossy photos in a brochure.
What Drives Sunroom Addition Cost: A Realistic Breakdown
Sunroom pricing is not a single number; it is a stack of decisions. Size matters, but so do foundation type, roofline, glazing, framing material, electrical work, and whether HVAC has to be extended. A 200-square-foot room built on a slab with standard windows will cost far less than a 300-square-foot room with a gable roof, floor-to-ceiling custom glazing, and a mini-split system. Understanding the major cost buckets helps you compare quotes apples to apples and spot where a contractor may be cutting corners.
Here is a practical breakdown of the major cost drivers you will see in most sunroom projects:
- Foundation and site prep: Slab-on-grade is the least expensive option; a crawl space or full basement foundation adds cost but can improve insulation and storage.
- Framing and structure: Wood framing is common and familiar; aluminum or vinyl systems can be faster to install but vary widely in thermal performance.
- Glazing: Standard dual-pane windows are the baseline; low-E coatings, argon fills, and laminated glass raise the price but improve comfort and efficiency.
- Roof: A shed roof tied into the house is usually the most affordable; a gable or hip roof adds visual appeal and cost.
- HVAC and electrical: A ductless mini-split, ceiling fans, outlets, lighting, and any extension of the home's HVAC system all add to the total.
- Finishes: Flooring, trim, paint, and built-ins are where design ideas meet budget, and where it is easy to overspend without adding comfort.
On top of construction, budget for permits, design fees, and a contingency of roughly 10 to 15 percent. Permit costs vary by municipality, but they are non-negotiable and should be built into the plan from day one. If you are still shaping the overall budget for an addition, it helps to compare how other below-grade and above-grade projects price out; for example, our guide on 2026 basement finishing costs and design ideas shows how foundation, insulation, and finishing choices drive total project cost in a similar way.
Design Ideas That Make a Sunroom Usable All Year
Year-round comfort is a design problem before it is a construction problem. The best four-season sunrooms share a few traits: they manage solar gain, they control air movement, and they choose materials that tolerate temperature swings and moisture. Start with orientation. A south-facing sunroom collects the most winter sun, which is a free heat source, but it can overheat in summer without shading. East-facing rooms are lovely for morning light but cooler in the afternoon. West-facing rooms get intense late-day sun, so plan for exterior shading such as a pergola, awning, or deep roof overhang.
Glazing is the single biggest comfort lever. Low-E glass with argon fill reduces heat loss in winter and heat gain in summer, and it protects furnishings from fading. In colder climates, consider triple-pane windows on the north side and high-performance double-pane elsewhere to balance cost and performance. Operable windows and transoms encourage cross-ventilation in shoulder seasons, which reduces reliance on mechanical cooling. Ceiling fans help circulate air year-round, pushing warm air down in winter and creating a breeze in summer.
Interior design choices also affect usability. Tile or luxury vinyl plank flooring handles temperature swings and moisture better than wall-to-wall carpet. A modest hearth or a freestanding electric fireplace adds ambiance and a backup heat source for chilly evenings. Built-in seating with storage keeps the room uncluttered and makes it feel intentional rather than like a converted porch. If you want the room to function as a home office or guest space, plan outlets, lighting zones, and privacy treatments early, because retrofitting them later is expensive. These design moves do not have to blow the budget; they simply need to be decided before construction begins, not after the drywall goes up.
Foundation and Roofline Options for Attaching to the House
How the sunroom meets the house is both a structural and a cost question. The most common approach is a slab-on-grade foundation, which is affordable and works well when the room sits close to grade. A crawl space foundation raises the floor to match the house and creates room for insulation and ductwork, but it adds cost. In some cases, a full basement foundation makes sense if you want storage below or if the site slopes. Each option affects how the room is insulated and how easily HVAC can be extended.
Roofline choices shape both appearance and performance. A shed roof that slopes away from the house is the simplest and often least expensive option, and it sheds water well. A gable roof creates more volume and a more traditional look, while a hip roof softens the profile and can improve wind resistance. If the sunroom will be open to the main house, consider how the roofline ties into the existing structure, because a poorly integrated roof is a common source of leaks and ice dams. Flashing details, gutter placement, and roof pitch are not glamorous, but they determine whether the room stays dry for decades.
Attachment also raises questions about the thermal boundary. The wall between the house and the sunroom should be insulated and sealed like an exterior wall if the sunroom is conditioned, and the door between them should be an exterior-rated door. This separation helps control humidity and keeps the sunroom from dragging down the efficiency of the main house. A qualified contractor will walk you through these details during the estimate, and it is worth asking specifically how they plan to handle the transition.
Permits, Setbacks, and Code Requirements Before Design Begins
Before you fall in love with a floor plan, confirm what your municipality will allow. Sunroom additions typically require a building permit, and many jurisdictions also enforce setback requirements, lot coverage limits, and height restrictions. Setbacks dictate how close the addition can sit to property lines, and lot coverage rules limit how much of the lot can be covered by structures. If your planned sunroom pushes past either limit, you may need a variance, which adds time and cost.
Zoning is not the only hurdle. Building codes govern structural loads, egress, electrical work, and energy performance. A four-season sunroom may be classified differently than a three-season porch, which can affect insulation requirements and how the room is counted in your home's square footage. Homeowners association rules can add another layer, especially regarding exterior materials and colors. The practical move is to call your local building department early, ask what is required for a sunroom addition, and get the answers in writing. Then share those requirements with your contractor so the design and the quote reflect reality. Skipping this step is one of the most common ways budgets blow up mid-project.
Permit timelines vary, but many homeowners should plan for several weeks to a few months depending on the scope and the local workload. Build that time into your schedule so you are not surprised when the project start date slips. A contractor who is experienced in your area will know the local quirks and can help you avoid costly revisions.
How to Compare Local Sunroom Quotes Without Getting Burned
Once you have a design direction and a realistic budget range, the next step is gathering quotes from local contractors. The goal is not simply to find the lowest number; it is to find the quote that best matches the scope you actually need. A low bid that excludes HVAC, electrical, or permit fees is not a bargain, it is a future change order. Ask each contractor to itemize labor, materials, permits, and contingency so you can compare line by line.
Use a simple framework to evaluate each bid:
- Confirm the construction type: three-season or four-season, and whether insulation and glazing meet your climate needs.
- Check that HVAC, electrical, and permit costs are included or clearly excluded.
- Ask for a written timeline with milestones and a payment schedule tied to progress.
- Verify licensing, insurance, and references, and ask to see completed sunrooms similar to yours.
- Review the warranty on labor and materials, and confirm who handles punch-list items.
It also helps to get at least three quotes and to ask each contractor the same set of questions so the comparison is fair. If you want a simpler way to start, you can connect with experienced local contractors and request free estimates that are tailored to your project and area. That approach lets you compare options side by side without spending weeks chasing referrals. Pay attention to how quickly and clearly each contractor communicates during the quoting process, because that is often a preview of how the project will go.
Budget-Smart Upgrades and Long-Term Value
Not every upgrade is worth the money, and the smartest sunroom projects focus spending on the elements that affect comfort and durability. High-performance glazing, a well-insulated envelope, and a properly sized HVAC system deliver returns every day the room is in use. Decorative extras can wait or be phased in later. If the budget is tight, prioritize the building shell and mechanical systems first, then add finishes and furnishings over time.
Energy efficiency is where the long-term savings live. A ductless mini-split can heat and cool a sunroom efficiently without extending ductwork through the house. Ceiling fans, exterior shading, and programmable thermostats reduce run time. Insulated floors and a sealed thermal boundary prevent the drafts that make rooms feel colder than they are. These choices also protect the structure from moisture damage, which is the hidden cost of a poorly built sunroom. If you are comparing financing or phasing options, a free estimate from a local pro can help you see which upgrades fit your budget now and which can wait.
Finally, think about resale. A well-built four-season sunroom adds usable square footage and appeal, and buyers tend to value rooms that are comfortable in every season. A three-season room still adds value, but it may be marketed as a porch rather than living space. The right choice depends on your climate, your budget, and how long you plan to stay. Whichever path you choose, document the permits, warranties, and material specifications; that paperwork is valuable when you sell or refinance.
A sunroom addition is a significant investment, but it is also one of the most rewarding upgrades a homeowner can make. By understanding the cost gap between three-season and four-season construction, choosing glazing and HVAC that match your climate, and comparing local quotes carefully, you can build a bright, comfortable room that earns its place in your home all year long.