
Signs Your Home Needs a Radon Test Before Finishing the Basement
Signs your home needs a radon test before finishing the basement, plus testing costs and mitigation savings. Call (833)-439-3727 for contractor help.

Learn more about Radon Mitigation for guides, costs, and what to expect.
Compare Radon Mitigation Pros Near You

Enter your ZIP code to compare top-rated local professionals and request free quotes.
Finishing a basement is one of the most cost-effective ways to add living space to a home, but it also seals off the largest potential entry point for a silent health hazard: radon. Radon is a radioactive gas that seeps up from the soil and rock beneath your foundation, and because it is colorless and odorless, the only way to know it is there is to test for it. Before you frame walls, run electrical wire, or hang drywall, you need to know whether your basement has a radon problem. If it does, addressing it before construction is far cheaper and simpler than retrofitting a mitigation system into a finished room. This article walks you through the signs your home needs a radon test before finishing the basement, how testing works, what mitigation costs, and how to coordinate with your contractor so your project stays on budget and your family stays safe.
What Radon Is and Why Basement Projects Trigger a Test
Radon forms naturally when uranium in soil and rock breaks down. It rises through the ground and enters homes through cracks in the foundation, gaps around pipes, sump pits, and other openings. Basements sit closest to the soil, so they tend to have the highest radon concentrations in a house. The EPA estimates that about 1 in 15 homes in the United States has elevated radon levels, and radon exposure is the second leading cause of lung cancer after smoking. Because you cannot see or smell radon, testing is the only reliable way to assess your risk.
Finishing a basement changes the dynamics of how radon moves through your home. An unfinished basement is often leaky and well ventilated, allowing radon to dilute before it reaches living areas. Once you add insulation, drywall, flooring, and weather sealing, the space becomes tighter and radon can accumulate to higher concentrations. Construction activities can also disturb soil and create new pathways. For these reasons, any major basement remodeling project is a natural trigger for a radon test. Testing before you build gives you a baseline and lets you fix problems while walls are still open.
Many homeowners skip this step because they assume radon is only a problem in certain regions. While some areas have higher average levels, elevated radon has been found in every state. The only way to know your home's status is to test. If you are planning a basement finish, make radon testing part of your pre-construction checklist, right alongside permits and contractor bids. For a detailed timeline on how long a basement finish takes, see our guide on how long it takes to finish a basement; radon testing adds only a few days and can prevent costly delays later.
Signs Your Home Needs a Radon Test Before Finishing the Basement
You cannot rely on your senses to detect radon, but certain conditions and circumstances make testing especially important. The following signs should prompt you to test before you commit to a basement finish. If any of these apply, order a test kit or hire a professional tester right away.
- You live in a high-risk radon zone: The EPA maps radon potential by county. If your home is in Zone 1 or Zone 2, where predicted average indoor radon levels are elevated, testing is strongly recommended.
- Your basement has visible cracks or gaps: Cracks in the floor slab, foundation walls, or gaps around pipes and sumps are common radon entry points. The more openings, the higher the likelihood of radon intrusion.
- A previous test showed elevated levels: If you tested years ago and found levels near or above 4 pCi/L (picocuries per liter), test again before finishing. Radon levels can change over time due to weather, soil conditions, or home alterations.
- You are adding a bedroom or living space downstairs: Finishing a basement to create sleeping quarters or a family room increases the amount of time people spend in the space, raising exposure risk. The EPA recommends testing before any major renovation that creates new living space.
- Neighbors have mitigation systems: Radon can vary from house to house, but if nearby homes have elevated levels, yours may too. A cluster of mitigation systems in your neighborhood is a strong signal to test.
- Your home is new or newly purchased: New construction can have different soil gas dynamics, and radon levels can change after a home is built. If you recently bought the house, test before starting a basement project.
- You are planning to seal the basement tightly: Adding insulation, vapor barriers, and drywall reduces natural ventilation. If you are tightening the building envelope, test first to avoid trapping radon inside.
These signs are not exhaustive, but they cover the most common reasons homeowners should test before finishing a basement. Even if none apply, testing is inexpensive and provides peace of mind. The cost of a test kit is trivial compared to the cost of mitigating a finished basement later.
Short-Term vs. Long-Term Radon Tests and What They Cost
Radon testing is simple and affordable. You have two main options: short-term tests and long-term tests. Short-term tests typically run from 2 to 90 days, with most kits designed for 48 to 96 hours. They are ideal for a quick snapshot before construction begins. Long-term tests run for more than 90 days and provide a more accurate annual average, accounting for seasonal fluctuations. For a pre-renovation decision, a short-term test is usually sufficient, especially if you follow up with a long-term test after mitigation or after the project is complete.
Do-it-yourself test kits are available at hardware stores and online for around $15 to $30. Professional radon testing by a certified inspector typically costs $150 to $300, depending on your location and the number of test devices. Many states offer free or discounted test kits through radon programs. If you hire a professional, ensure they are certified by the National Radon Proficiency Program (NRPP) or your state's radon program. The small investment in testing is well worth it: knowing your radon level before you spend tens of thousands on a basement finish allows you to budget for mitigation if needed.
When testing, place the kit in the lowest livable area of the basement, following the manufacturer's instructions for height and duration. Avoid testing during extreme weather or immediately after major home alterations, as these can skew results. If your short-term test returns a result of 4 pCi/L or higher, the EPA recommends a follow-up test or mitigation. If the result is between 2 and 4 pCi/L, consider a long-term test to better understand your average exposure. For a deeper dive into basement project timelines and costs, our article on basement finishing timelines explains how testing fits into the overall schedule.
Mitigation System Basics and Rough Cost Ranges
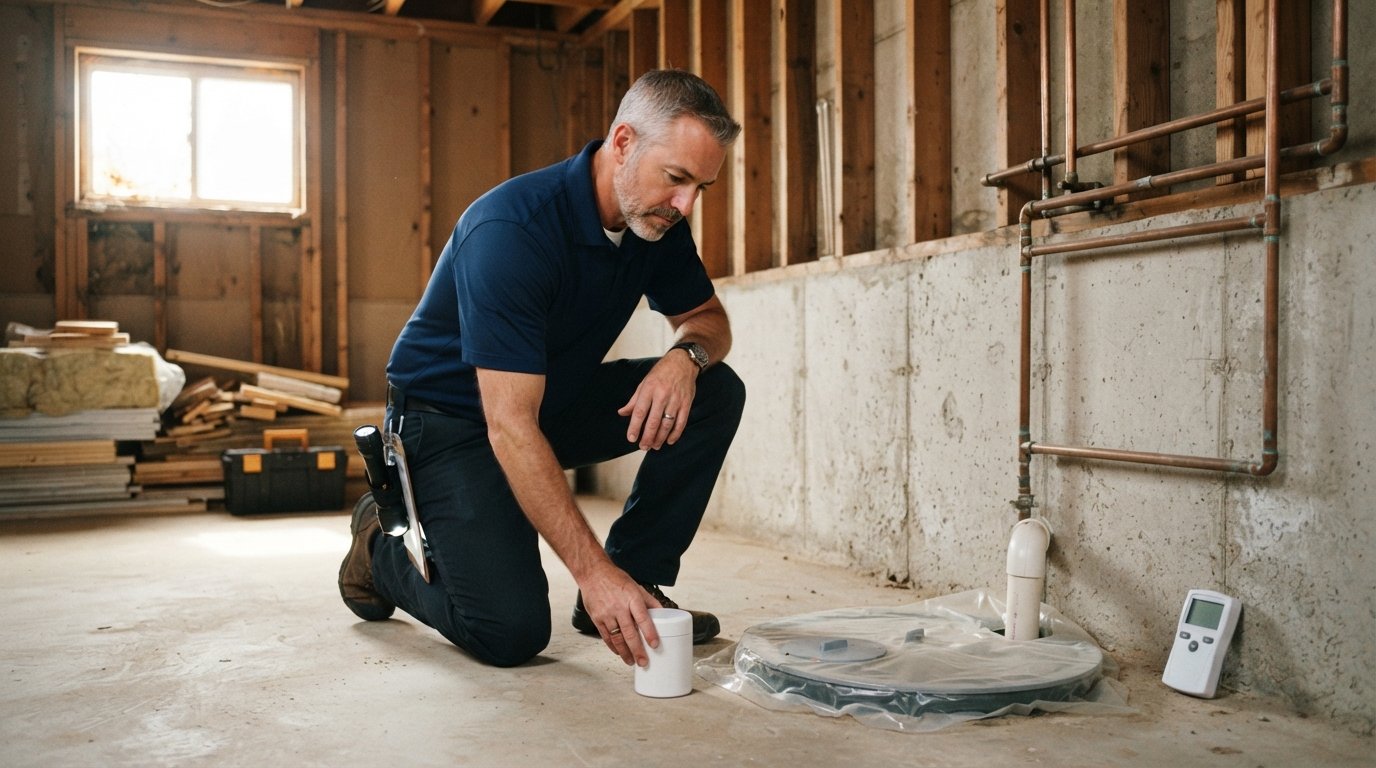
If testing reveals elevated radon levels, you will need a mitigation system to reduce concentrations. The most common method is active soil depressurization (ASD), which uses a fan and piping to draw radon from beneath the foundation and vent it safely above the roofline. A typical system includes a PVC pipe inserted through the basement floor into the soil, a radon fan, and exhaust piping that runs up through the house or along the exterior. Sealing cracks and gaps in the foundation is often done in conjunction with ASD to improve effectiveness.
The cost of a radon mitigation system typically ranges from $800 to $2,500, with the national average around $1,200. Factors that affect cost include the size and layout of your home, the type of foundation (slab, crawlspace, or basement), and whether the system requires exterior or interior routing. If you are finishing a basement, installing the system before drywall is much cheaper because the piping can be routed through open walls. Retrofitting a system into a finished basement may cost 20 to 50 percent more due to the need to cut into walls and ceilings.
Mitigation systems are relatively unobtrusive and can be designed to fit your basement plans. The fan can be located in an attic, garage, or exterior wall, and the exhaust pipe can be hidden behind drywall or run up an exterior wall. Work with a certified radon mitigation contractor to design a system that integrates with your basement finish. If you are comparing contractors for your basement project, our guide on finding affordable contractors can help you vet radon specialists alongside general remodelers. For more resources on planning your project and connecting with local pros, visit BuySellRemodel to explore free estimate options and contractor connections.
How to Sequence Testing Before Framing and Drywall
Timing is critical when finishing a basement. You want to test for radon before any framing or drywall goes up, because those steps will cover up the foundation and make mitigation more difficult and expensive. Here is a recommended sequence to follow:
- Test early: Order a radon test kit or schedule a professional test as soon as you decide to finish the basement. Ideally, test at least 30 days before construction begins to allow time for results and any necessary follow-up.
- Interpret results: If your test shows 4 pCi/L or higher, consult a certified mitigation contractor before finalizing your basement design. The contractor can advise on system placement and routing so the work can be incorporated into the construction plan.
- Install mitigation rough-in: If mitigation is needed, have the system installed or roughed in before framing and drywall. This means drilling the floor, running the pipe, and setting the fan location. The system can be activated later or immediately.
- Seal and insulate: During construction, seal all cracks and gaps in the foundation, around pipes, and at the sump pit. Use appropriate sealants and gaskets to minimize radon entry.
- Retest after completion: Once the basement is finished and the mitigation system is running, perform a follow-up radon test to confirm levels are below the EPA action level of 4 pCi/L. Consider a long-term test for ongoing monitoring.
Following this sequence prevents the scenario where you finish a beautiful basement only to discover you need to cut into new drywall to install a mitigation system. It also ensures your contractor can coordinate the radon work with other trades, avoiding scheduling conflicts. If you are working with a general contractor, discuss radon testing upfront and ask whether they have experience incorporating mitigation into basement finishes. A reputable contractor will appreciate the proactive approach and can help you sequence the work properly.
Coordinating with Local Contractors on Venting and Sealing
Radon mitigation and basement finishing involve multiple trades, so coordination is essential. Your general contractor, HVAC specialist, and radon mitigation professional need to communicate about venting routes, sealing details, and system placement. For example, the radon exhaust pipe must terminate above the roofline and away from windows and doors, which may conflict with other venting or architectural features. Sealing the foundation and penetrations should be done by the waterproofing or concrete crew before framing begins.
When hiring contractors, ask about their experience with radon systems. A radon mitigation contractor certified by NRPP or your state can design and install the system, while your general remodeler can incorporate the rough-in into the construction schedule. Make sure the contract specifies who is responsible for sealing cracks, installing the vapor barrier, and routing the pipe. Clear communication prevents costly rework and ensures the system operates effectively after the basement is finished.
If you are still in the planning phase, consider getting multiple bids from local contractors who understand radon. Our site helps homeowners connect with experienced local contractors for basement finishing and radon mitigation. You can request free estimates and compare options to find the right pro for your project. Taking the time to coordinate radon work with your basement finish protects your investment and your family's health.
Finishing a basement adds valuable living space, but it also seals in whatever is in the soil beneath your home. Testing for radon before you frame and drywall is a small step that can save you thousands in retrofitting costs and, more importantly, protect your household from a known health hazard. Use the signs above to decide if testing is urgent for your home, choose a short-term or long-term test based on your timeline, and plan mitigation if needed before construction begins. With proper sequencing and contractor coordination, you can enjoy your new basement with confidence that the air is safe to breathe.