
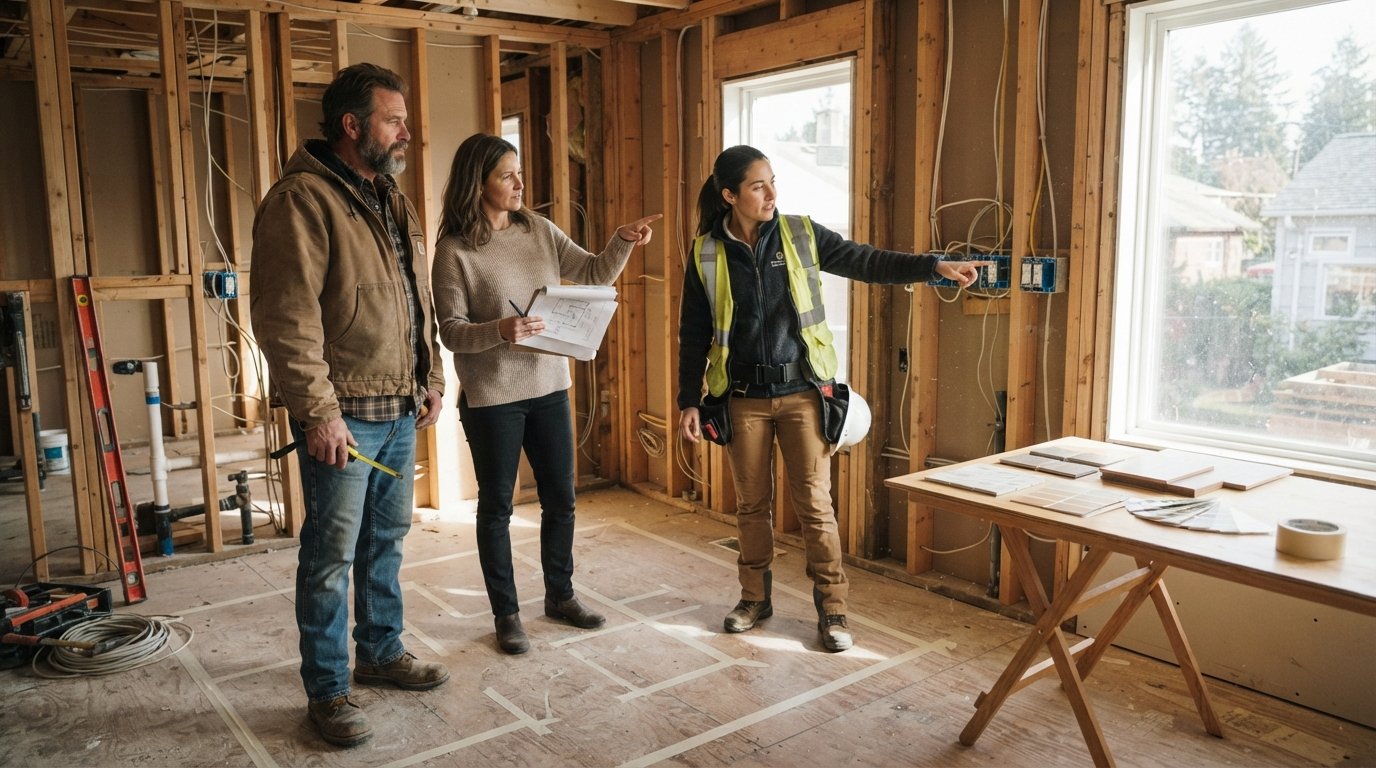
What to Expect at a Contractor Pre-Construction Walkthrough
Know what to expect at a contractor pre-construction walkthrough meeting, from schedules to material deliveries. Call (833)-439-3727 for free local estimates.

By Ethan Owens
Learn more about General Contracting for guides, costs, and what to expect.
Compare General Contracting Pros Near You

Enter your ZIP code to compare top-rated local professionals and request free quotes.
Your contractor just called to schedule the pre-construction walkthrough, and you are not entirely sure what that means. Is it a quick handshake and a tour, or something more formal? This meeting is actually one of the most important milestones in your entire renovation. It is the bridge between the signed contract and the first day of demolition. Handled well, it prevents costly surprises, protects your home, and sets a clear schedule everyone can follow. Handled poorly, it becomes the moment where misunderstandings about materials, access, and timelines quietly take root. Here is a practical, room-by-room look at what to expect at a contractor pre-construction walkthrough meeting, so you can walk in prepared and walk out confident.
Who Attends the Walkthrough and What You Should Bring
The pre-construction walkthrough is typically led by your general contractor or project manager, and it often includes the lead carpenter or site supervisor who will be on site daily. For larger projects, you may also see the designer, an electrician, or a plumber if their rough-in work is imminent. As the homeowner, you are the most important attendee. Your job is to confirm decisions, point out concerns, and ask questions, not to supervise the trades. If you have a partner or spouse who shares decision-making, both of you should attend so nothing gets lost in translation later.
Bring a folder of documents, physical or digital, that the team can reference together. The more organized you are, the faster the meeting moves and the fewer assumptions get made. At minimum, gather the signed contract and scope of work, the final approved drawings or plans, the material selection sheets, the payment schedule, and any permits or HOA approvals you have received. If you have inspiration photos or notes from earlier conversations, bring those too. It also helps to have your contractor's contact information and the day-of emergency numbers handy, plus a notebook or phone for photos and notes.
Expect the meeting to last anywhere from 45 minutes to two hours depending on project size. A kitchen remodel might take an hour; a whole-home renovation or addition could take half a day. The contractor will usually walk the entire work area, confirm measurements, and mark locations for key items. You should leave with a shared understanding of who does what, when they start, and how communication will flow. If your contractor has not offered a walkthrough at all, that is a red flag worth addressing before any work begins, and it may be a good moment to gather free local estimates from other professionals so you can compare approaches.
Questions to Ask About Scheduling, Site Access, and Dumpster Placement
Scheduling and logistics are where most renovation friction begins, so the walkthrough is your chance to nail them down. Ask for a start date and a realistic completion window, and request a simple phase schedule showing demolition, rough-in, inspections, and finish work. You do not need a minute-by-minute plan, but you do need to know which weeks will be loud and disruptive and which will be quieter. Confirm daily working hours, whether weekends are included, and how holidays will affect the timeline.
Site access deserves its own conversation. Decide how the crew will enter and exit, whether they will use a lockbox or a key, and how the home will be secured at night. If you have pets, alarm systems, or children, explain the routines and restrictions now. Ask where the dumpster will sit, how long it will stay, and whether a permit is needed for street placement. A dumpster in the wrong spot can block a driveway, annoy neighbors, or violate local rules, so settle it before delivery day. You should also confirm where materials will be staged, where the crew will park, and which bathroom or utility sink they may use.
Use a short list to keep this part of the conversation focused and on the record:
- Start date and phase schedule: demolition, rough-in, inspections, and finishes.
- Daily hours and weekend policy: when the crew arrives, leaves, and takes breaks.
- Access and security: lockbox, keys, alarm codes, and overnight securing.
- Dumpster and staging: placement, permits, delivery, and pickup dates.
- Parking and utilities: crew parking, bathroom use, and power or water needs.
Write down the answers and ask the contractor to include them in a follow-up email or shared document. A verbal plan is easy to forget; a written one becomes the reference point if questions arise later. This is also the moment to ask how change orders are handled, who approves them, and how quickly you should expect a response when you raise a concern during construction.
Confirming Material Selections and Delivery Dates Before Work Begins
Material selections are the most common source of delays in remodeling, and the walkthrough is where they get locked down. Go through each selection sheet item by item: flooring, tile, cabinets, countertops, fixtures, paint colors, trim, and hardware. Confirm the exact brand, model, size, finish, and quantity where relevant. If any item is still undecided, agree on a decision deadline and note who is responsible for ordering it. Ask whether the contractor or you will place orders, and confirm who pays for what.
Delivery dates matter as much as the selections themselves. Ask when each major material is expected on site and where it will be stored. Long-lead items like cabinets, windows, and specialty tile can take weeks or months, so confirm they are ordered and track their status. If a delivery is delayed, ask how the schedule will adjust and whether temporary alternatives are possible. You should also clarify the return policy for unused or incorrect materials, who handles damaged goods, and how backorders will be communicated.
Expect the contractor to take photos or notes of the selections and to mark installation locations on the plans or walls. For tile and flooring, confirm the layout pattern, grout color, and transition strips. For cabinets and fixtures, confirm heights, clearances, and door swings. Small details agreed now prevent expensive rework later. If you are working with a limited budget, this is also the time to discuss value engineering: where can you substitute a similar material or simplify a design without compromising the overall result? Clear selections plus confirmed delivery dates equal a smoother start and fewer surprise bills.
Documenting Existing Damage and Agreeing on Protection for Floors and Furniture
Before a single hammer swings, you and the contractor should document the condition of your home. Walk through every room in the work zone and beyond, taking dated photos and notes of existing scratches, dents, cracks, stains, and anything else that could be blamed on the crew later. Pay attention to floors, door frames, stair rails, countertops, and walls along the main traffic path. This record protects both of you and makes the final walkthrough far less contentious.
Then agree on how your home will be protected during construction. Ask about floor protection (rosin paper, hardboard, or plastic), corner guards, and plastic sheeting or zip walls to contain dust. Confirm whether furniture will be moved by the crew or by you, and where items will be stored. If you have valuable or fragile pieces, move them yourself before work begins. Discuss how debris will be removed daily and whether air scrubbers or negative air machines will be used in dusty work areas.
Protection also extends to landscaping and exterior spaces. Ask how the crew will protect walkways, lawns, and shrubs if materials or debris travel through them. Confirm who is responsible for cleaning up at the end of each day and at the end of the project. A professional crew expects to leave the site tidy, and a written protection plan makes that expectation enforceable. Documenting existing damage and agreeing on protection might feel tedious, but it is one of the highest-value ten minutes you will spend in the entire project.
When to Request Free Local Estimates if No Walkthrough Has Been Offered
A reputable contractor will usually propose a pre-construction walkthrough as a matter of course. If yours has not, or if the meeting feels rushed and vague, treat that as useful information. A contractor who cannot explain scheduling, site access, material delivery, and protection in detail may be disorganized, overbooked, or simply inexperienced. Before you sign anything or hand over a deposit, it is reasonable to pause and compare other options.
This is where gathering free local estimates becomes valuable. Multiple bids give you a benchmark for pricing, scope, and professionalism, and the questions each contractor asks reveal how carefully they plan. You can request free estimates and compare local contractors through services like BuySellRemodel, which helps homeowners plan affordable projects and connect with experienced professionals. Use the comparison to check that each bid includes a pre-construction walkthrough, a written schedule, a protection plan, and a clear change-order process, not just a bottom-line number.
When you do compare estimates, ask each contractor how they handle the walkthrough and what documents they provide afterward. The best bids are specific and transparent, and the best contractors welcome detailed questions. If one estimate is dramatically lower than the rest, ask what is excluded. A cheap bid that skips planning often costs more in delays and rework. A slightly higher bid with a thorough walkthrough and a clear communication plan is usually the better value.
How to Get the Most Out of the Meeting
Treat the walkthrough as a working meeting, not a formality. Bring your questions in writing, take notes, and ask the contractor to send a summary afterward. Confirm who your main point of contact will be, how often you will receive updates, and the best way to reach them (text, email, or phone). Ask how change orders are priced and approved, and confirm the process for inspections and any required permits. If something is unclear, say so now rather than hoping it resolves itself later.
Finally, trust your instincts. A good pre-construction walkthrough feels organized and collaborative. The contractor listens, explains, and documents. You leave knowing what happens next week, what is expected of you, and how your home will be protected. That level of clarity is exactly what you should expect, and it is a strong sign you have chosen the right professional for the job.
Learn more about General Contracting for guides, costs, and what to expect.
Compare General Contracting Pros Near You
Enter your ZIP code to compare top-rated local professionals and request free quotes.