
Garage to Home Gym: Cost and Ventilation Planning
Plan your garage gym conversion with confidence. Call (833)-439-3727 for expert cost and ventilation guidance.

By Irene Parker
Learn more about Garage Addition or Remodel for guides, costs, and what to expect.
Compare Garage Addition or Remodel Pros Near You

Enter your ZIP code to compare top-rated local professionals and request free quotes.
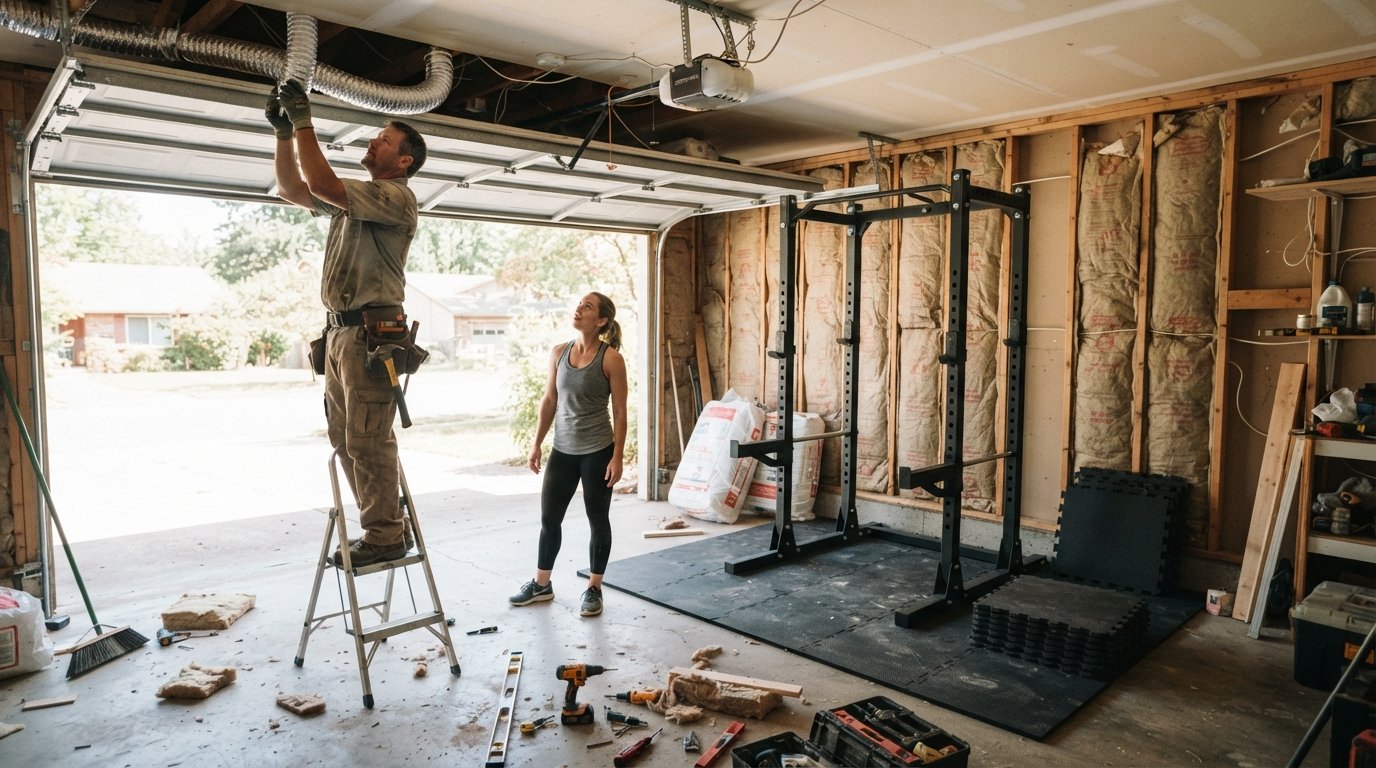
Your garage already has the square footage, the separate entrance, and the concrete floor that can handle a dropped barbell. Turning that cold, dusty storage zone into a functional home gym is one of the most cost-effective remodels a homeowner can tackle, but the budget and the air quality are where most projects succeed or stall. Get the ventilation wrong and your workouts turn into a humid, rusty, miserable slog. Get the cost planning wrong and you blow through your budget before the rubber flooring even arrives. This guide walks through realistic numbers for insulation, flooring, and electrical work, then shows how to plan ventilation and moisture control so the space stays dry, breathable, and comfortable year-round.
What a Garage Gym Conversion Actually Costs
Costs swing widely depending on your climate, the current condition of the garage, and how finished you want the space to feel. A basic setup with mats and a rack might run a few thousand dollars, while a fully insulated, wired, and climate-controlled gym can push well past $15,000. The smart approach is to separate the must-haves (structural, electrical, ventilation) from the nice-to-haves (mirrors, rubber flooring upgrades, finished walls).
Here is a realistic breakdown of the main cost categories for a typical two-car garage conversion, based on national averages for materials and labor. Treat these as planning ranges, not quotes, and always get local estimates before committing.
- Insulation and air sealing: $1,500 to $4,500 for walls and ceiling, depending on square footage and whether you choose spray foam or batt insulation.
- Electrical upgrades: $1,200 to $3,500 for dedicated circuits, outlets, lighting, and a subpanel if the existing service is maxed out.
- Flooring: $800 to $4,000 for rubber gym mats, interlocking tiles, or a poured overlay, with cost driven by thickness and coverage area.
- Ventilation and moisture control: $600 to $2,500 for exhaust fans, intake vents, a dehumidifier, and ducting.
- Heating and cooling: $800 to $4,000 for a mini-split, radiant heater, or high-velocity system, depending on climate and garage size.
- Permits and inspections: $150 to $800, varying by municipality and scope of work.
Those ranges add up fast, but they also show where you can phase the work. Many homeowners start with insulation, electrical, and ventilation, then add flooring and heating in a second phase. If you are still mapping out the broader project scope, our home renovation permits cost guide explains how permit fees are calculated and what triggers an inspection, which is useful before you frame or wire anything.
Insulation and Air Sealing: The Foundation of a Usable Gym
An uninsulated garage is essentially a shed with a door. In summer it bakes, in winter it freezes, and in every season it pulls moisture through the concrete slab and wall gaps. Insulation is not glamorous, but it is the single upgrade that makes every other dollar work harder. It also reduces the size of the heating and cooling system you need, which lowers both upfront and operating costs.
For most garages, the priority order is ceiling first, then exterior walls, then the garage door. Heat rises, so an uninsulated ceiling leaks conditioned air straight into the attic. Batt insulation is the budget choice for open stud bays, while closed-cell spray foam costs more but seals air leaks and adds rigidity. Do not forget the garage door itself: a insulated door or a foil-faced door blanket can cut heat gain dramatically for a few hundred dollars.
Air sealing matters as much as the insulation product. Gaps around outlets, sill plates, and the door frame let humid outdoor air sneak in, which is exactly what you do not want in a room where you will be sweating. A tube of sealant and a few hours of work can outperform an extra inch of insulation in the wrong spot. If you are hiring out the work, ask contractors whether air sealing is included or billed separately, because it is often skipped in low bids.
Ventilation and Moisture Control for a Sweaty Workout Space
This is the part of garage gym planning that gets ignored until the mirrors fog up and the kettlebell handles start to pit. A person exercising hard can release a surprising amount of moisture through sweat and respiration, and a closed garage traps all of it against cold concrete and steel. Over months, that moisture rusts equipment, warps flooring, and feeds mold in insulation cavities. Ventilation is not optional; it is part of the gym build.
The goal is to create a controlled path for air to enter and exit. A simple and effective setup uses a wall-mounted exhaust fan rated for the room volume, paired with intake vents or a slightly open window on the opposite side. Run the fan during workouts and for 15 to 30 minutes afterward to flush humid air. In humid climates, add a dehumidifier sized for the square footage, and plumb it to a floor drain or condensate pump so you are not emptying a bucket every day.
If you plan to heat and cool the space, a heat recovery ventilator (HRV) or energy recovery ventilator (ERV) lets you bring in fresh air without throwing away all your conditioned air. These units cost more upfront, but they solve the fresh-air problem elegantly in a tightly sealed garage. Whichever route you choose, make sure the ventilation plan is drawn before electrical rough-in so the fan, switches, and duct runs are coordinated.
Moisture control also extends to the building envelope. Fix any roof or window leaks first, slope the grade away from the foundation, and consider a vapor barrier under the slab if you are pouring new concrete. A cheap humidity monitor on the wall will tell you whether your strategy is working, and it is worth checking after heavy rain as well as after workouts.
Flooring That Survives Dropped Weights and Damp Concrete
Garage floors are typically bare concrete, which is durable but unforgiving. Dropped dumbbells crack tiles, crack concrete, and send shockwaves through the house. The right flooring absorbs impact, resists moisture, and stays put under a squat rack. The wrong flooring, such as thin foam puzzle mats or cheap laminate, will slide, compress, or grow mold within a season.
Rubber is the workhorse choice. Interlocking rubber tiles in 3/8-inch to 1/2-inch thickness handle most home gym traffic and are easy to replace if a section gets damaged. Rolled rubber is seamless and slightly cheaper per square foot, but it is heavy and harder to move once installed. For heavy deadlifts or Olympic lifting, build a plywood platform over the concrete and top it with horse-stall mats or thick rubber, which spreads the load and protects both the bar and the slab.
Moisture is the silent killer of garage flooring. Concrete wicks moisture from the ground, and rubber mats can trap it underneath, creating a musty layer that never dries. Before installing anything, test the slab for moisture by taping a plastic sheet down for 24 hours and checking for condensation. If the slab runs damp, seal it with a concrete sealer or lay a dimpled drainage membrane first. Avoid carpet and wood in a garage gym unless the space is fully conditioned and the slab is proven dry.
Heating and Cooling Without Conditioning the Whole Garage
You do not need to turn the garage into a living room to make it comfortable for workouts. The goal is to take the edge off extremes, not to maintain perfect living-room temperature. That distinction keeps equipment costs and energy bills in check. The right choice depends on your climate, how often you train, and whether the space is insulated.
In mild climates, a ceiling fan plus good ventilation may be enough for summer, and a portable radiant heater handles winter mornings. In colder regions, a ductless mini-split is the most efficient year-round option because it heats and cools and runs quietly. A gas or electric garage heater works for heat-only setups but does nothing for summer humidity. Window units are cheap but leak air in winter and struggle in large garages.
Whatever system you choose, size it for the insulated space, not the original drafty shell. Oversized equipment short-cycles, wastes energy, and creates uneven temperatures. A manual J load calculation, which a good HVAC contractor can run, tells you the right capacity. Also plan the electrical circuit for the unit early, because a mini-split or heater may need a dedicated 240-volt line that affects your panel budget.
Permits, Inspections, and Safety Considerations
Garage conversions sit in a gray zone of the building code, and the rules vary by city and county. Some jurisdictions treat a gym as a storage or utility use that needs no special permit, while others require permits for electrical, insulation, or any change that alters the space's classification. The safest path is to call the local building department before you buy materials and describe exactly what you plan to do.
Electrical work almost always requires a permit and inspection, especially if you are adding circuits, a subpanel, or anything with a motor or heating element. Ventilation fans and heaters may also trigger inspection depending on local rules. Skipping permits can void insurance claims and create headaches when you sell the house, so factor the fee and the inspection timeline into your schedule.
Safety details matter in a gym. Keep a clear path to the garage door and any side exit, mount heavy racks into studs or the slab, and store plates on a proper tree rather than the floor. If you install a heater, keep it clear of mats and equipment, and follow the manufacturer's clearance requirements. For a full picture of what permits cost and when they are required, the trusted remodeling resource at BuySellRemodel offers practical guidance on planning affordable projects and connecting with local pros, which pairs well with a call to your building department.
Sequencing the Project to Control Costs
The order of work determines whether your budget holds. Start with the envelope (roof repairs, air sealing, insulation) because everything else depends on a dry, stable shell. Next comes electrical rough-in and ventilation, since wires and ducts hide behind finished surfaces. Flooring and equipment come last, after the space is clean and dry.
If money is tight, phase the project. Phase one: insulation, air sealing, a ventilation fan, and a couple of dedicated circuits. Phase two: flooring and a heating or cooling unit. Phase three: mirrors, storage, and finishing touches. This approach lets you start training sooner and spreads the cost across a few months without compromising the critical systems. It also gives you time to watch how moisture behaves in the space before you cover the floor.
Get at least three local quotes for any work you are not doing yourself, and compare not just the total but the scope: does the bid include air sealing, permit fees, and debris removal? A low bid that skips ventilation is not a bargain. Homeowners who plan the ventilation and moisture strategy alongside the cost budget end up with a gym that stays dry, smells clean, and holds its value, which is the whole point of turning that garage into a space you actually want to use.